
5 Easy Steps to Create an Organized & Fun Kid’s Closet
Kid rooms can be hard to keep clean! All the toys, books, clothes, and random items in their rooms require a lot of purging and organizing. Their closets can be the worst disaster zones in the entire room. However, you can change that in 5 simple steps and just a weekend of work!
-
Difficulty:Beginner
-
Team:1
-
Time:Over 6 Hours
Tools
-
Drill Bit
-
Drill
-
Level
-
Pencil
-
Safety Goggles
-
Tape Measure


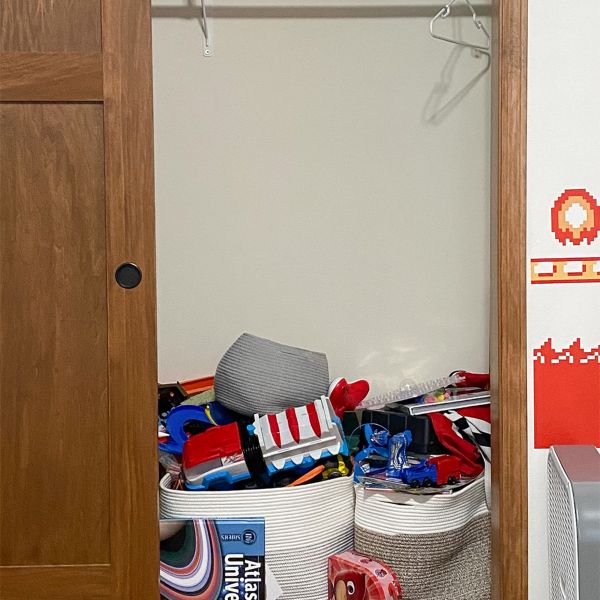
Empty Out The Closet
You’ll want to start with a completely clean slate! Get all of those toys out of there.
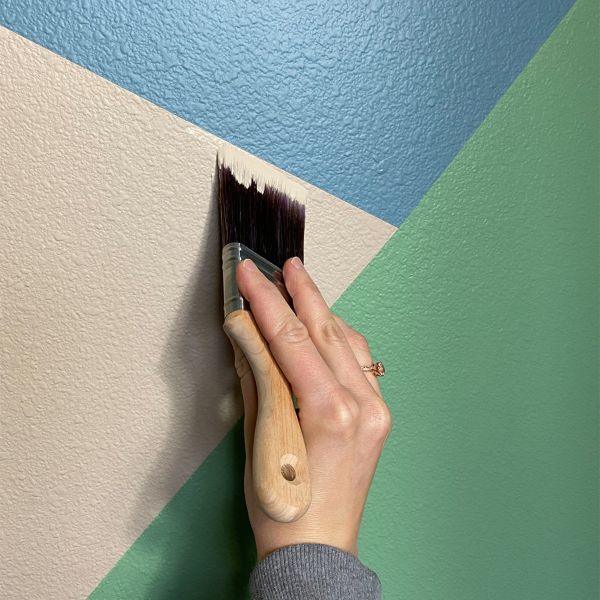
Paint The Back Wall
This is where you should inject your own personal style into the closet. Ask your child what he/she prefers. Have fun with it! Consider what designs you can make simply by using painter’s tape.
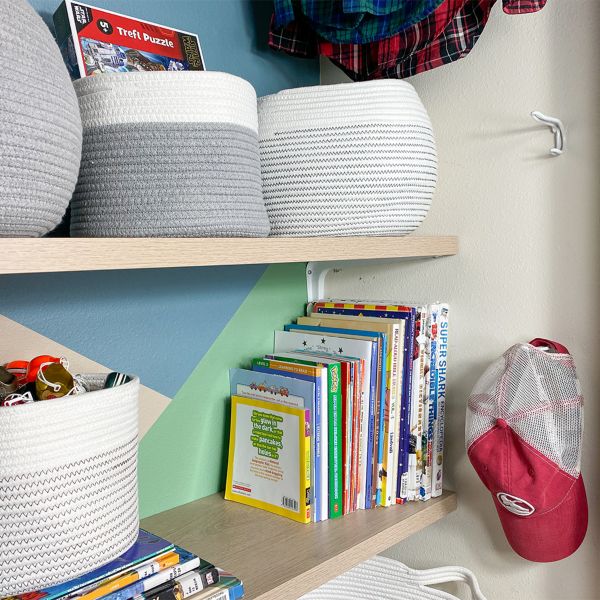
Install Shelves, Supported by Shelf Brackets
You will want to measure your closet and decide what size shelves will be perfect for your space. Once you know that, find shelf brackets that are the correct size for your shelves. When installing the shelves, first locate the studs in the wall. If you are able to secure the brackets into the studs, that’s optimal. If not, make sure to use wall anchors to hold your shelves in place. Once the brackets are in, attach your boards to the top of the brackets with screws.

Install Vinyl Hooks
To add additional storage, install vinyl hooks by simply screwing them into the wall. These hooks can hold hats, small coats, play necklaces, and more!
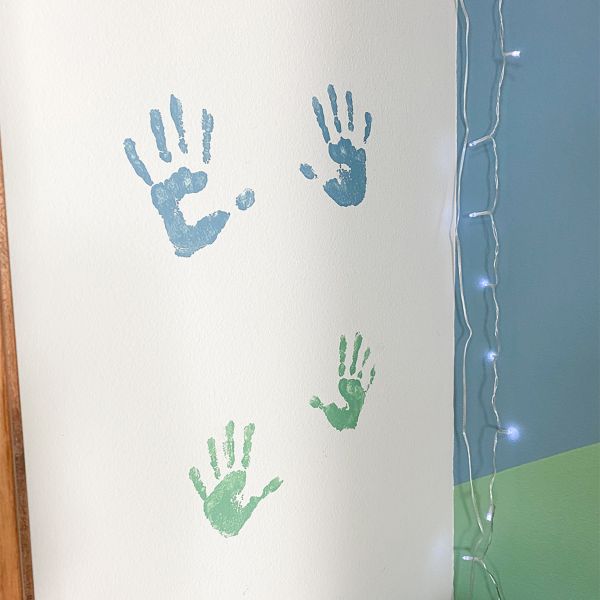
Create a Fort on the Other Side of the Closet
Reserve one side of the closet for a fort for your kids to play in. Get creative, adding a curtain to make it extra cozy. Add twinkle lights, cozy pillows, etc. Let your kids add their handprints to the wall to add a bit of themselves to the closet fort.
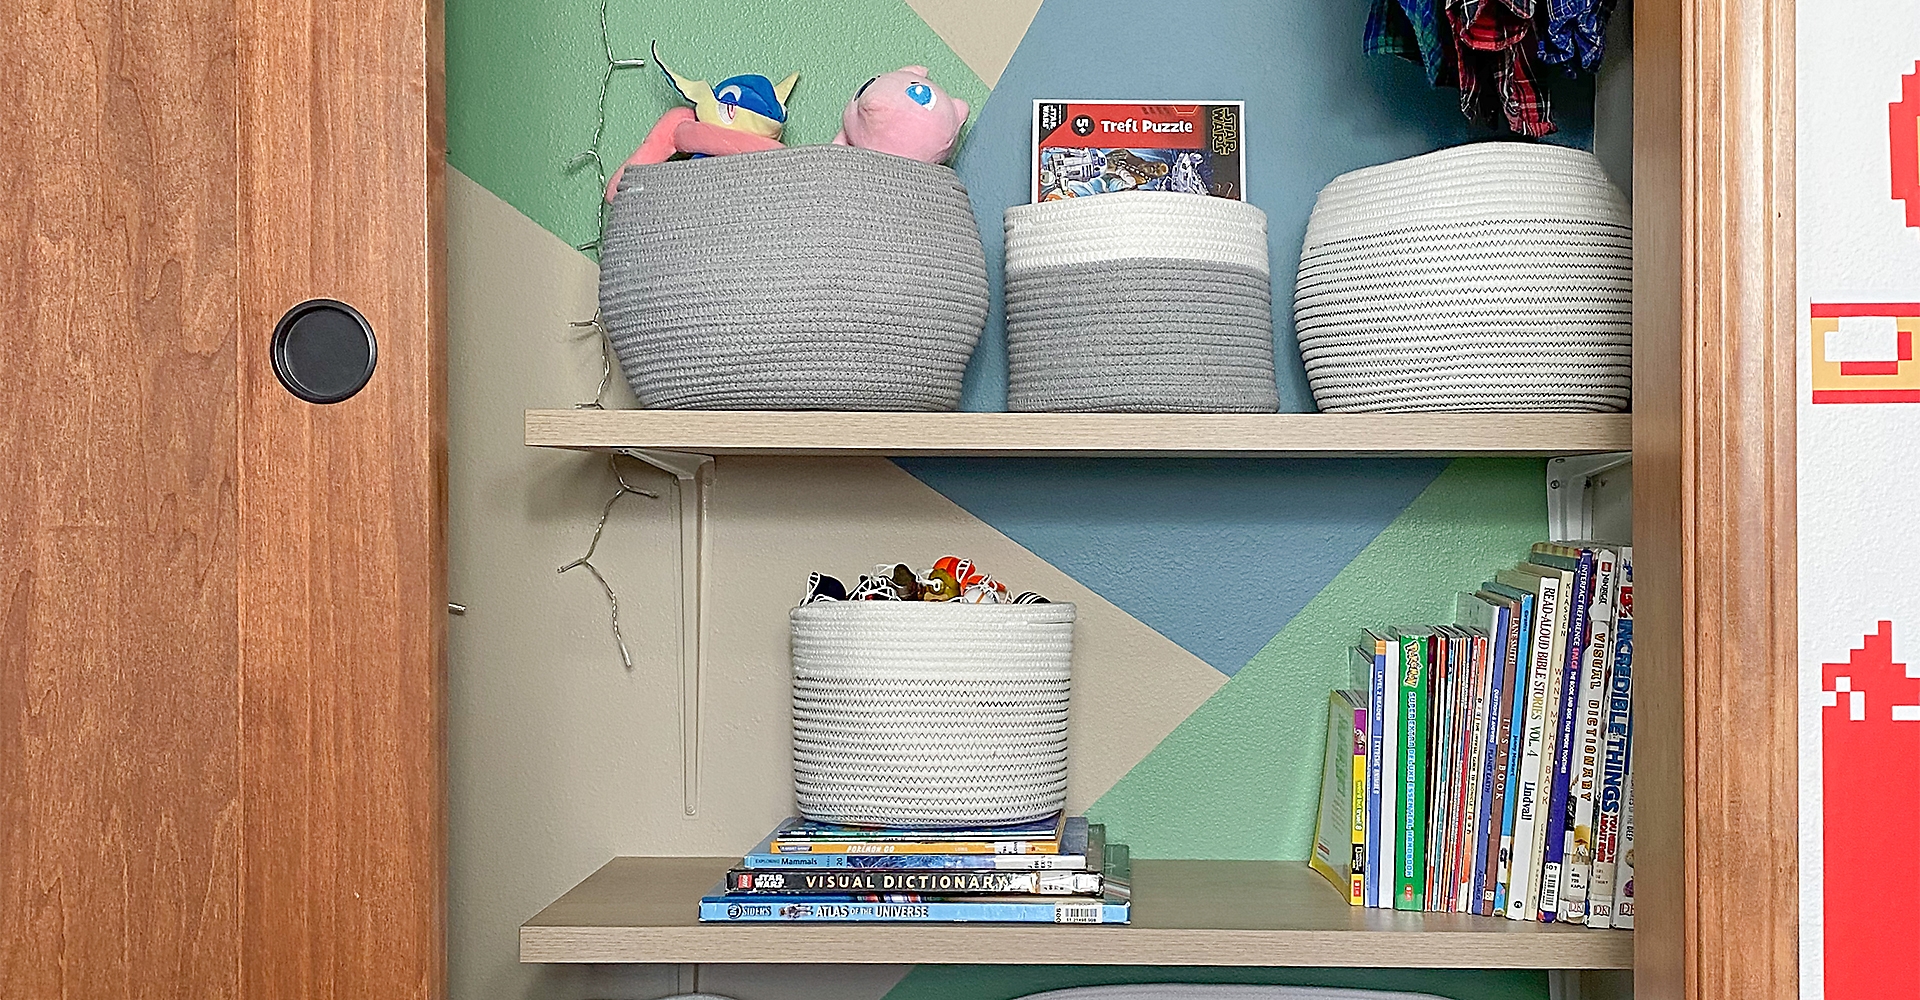
Complete!
National Hardware shelf brackets and vinyl hooks are the perfect hardware for transforming a closet from a complete disaster to a beautifully organized closet. The only question remaining is: When is your next free weekend to tackle this project?!

Hardware
- Related Product Categories:
- Closet Brackets & Supports
- Closet Hardware
- Metal Hooks
- Wire Goods