

DIY Wall Art Panel Christmas Tree Alternative
-
Difficulty:Beginner
-
Team:1
-
Time:2 to 4 Hours
Tools
-
Box Saw
-
Drill Bit
-
Drill
-
Safety Goggles
-
Screw Drivers
-
Tape Measure


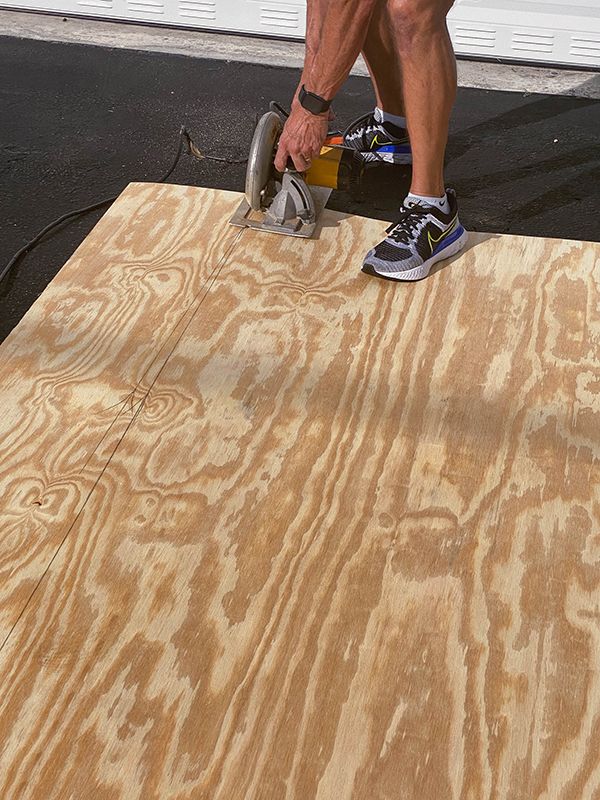
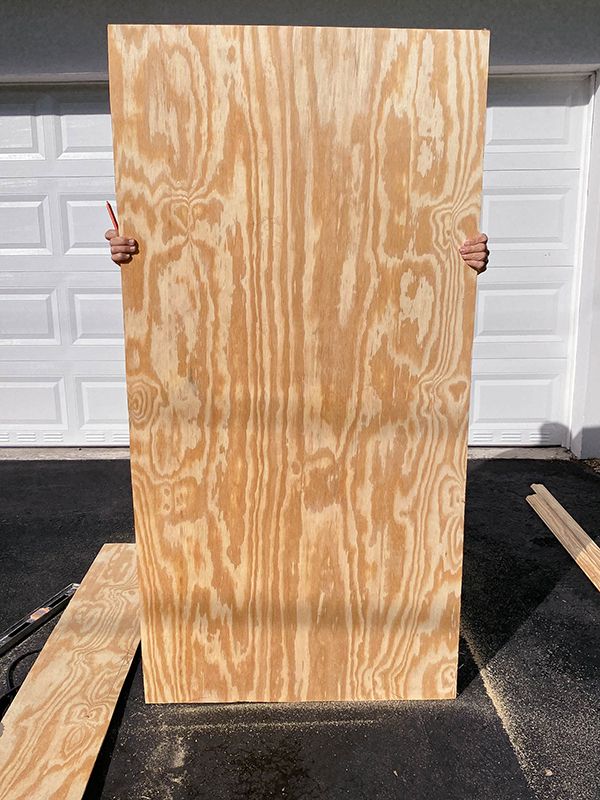
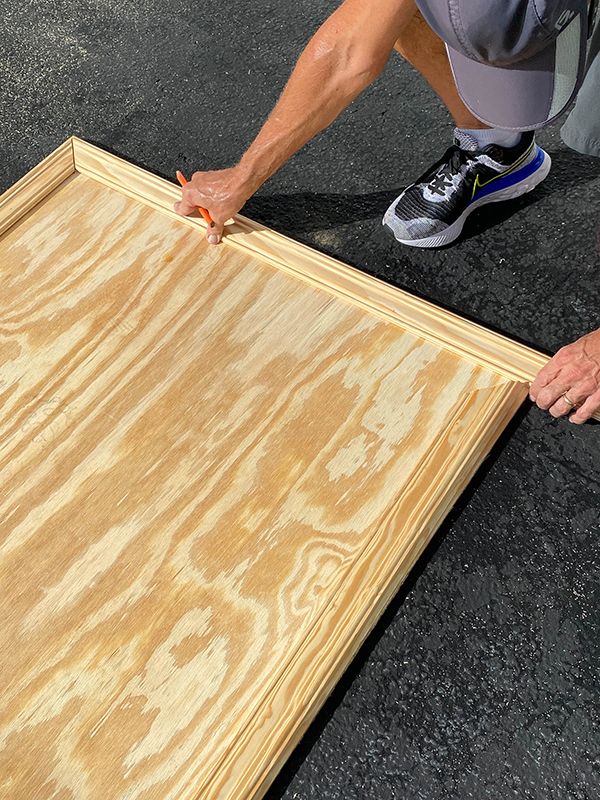
Cut the Plywood to Size
Measure and cut sheet of plywood to size using a circular saw or a jig saw. It should measure about twice as tall as it is wide to resemble the dimensions of a Christmas tree. We cut this piece to 36″ wide x 72″ tall.
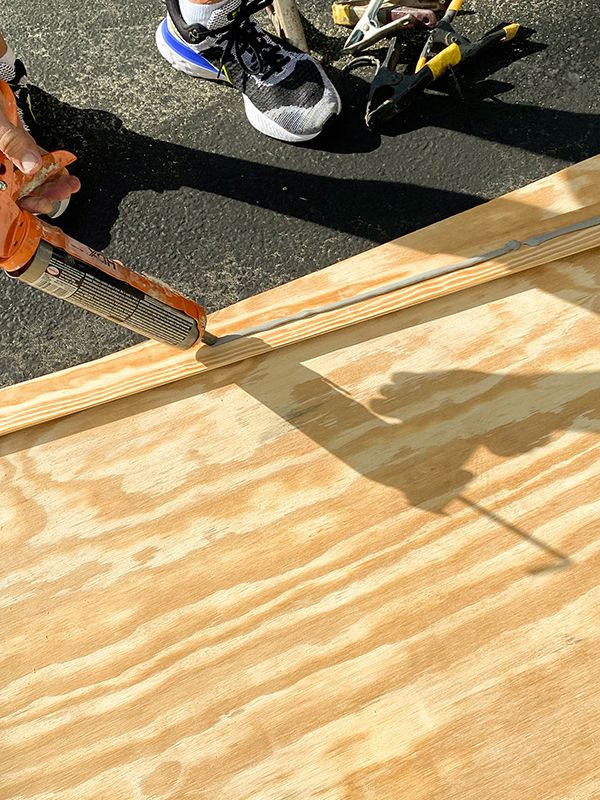
Cut Wood Stabilizing Strips
Cut the 2″ x 2″ white wood to use on the back side of the plywood that will help to give the plywood stability.
Adhere The Stabilizers
Use caulking to adhere the wood stabilizing strips to the back. No nails necessary!
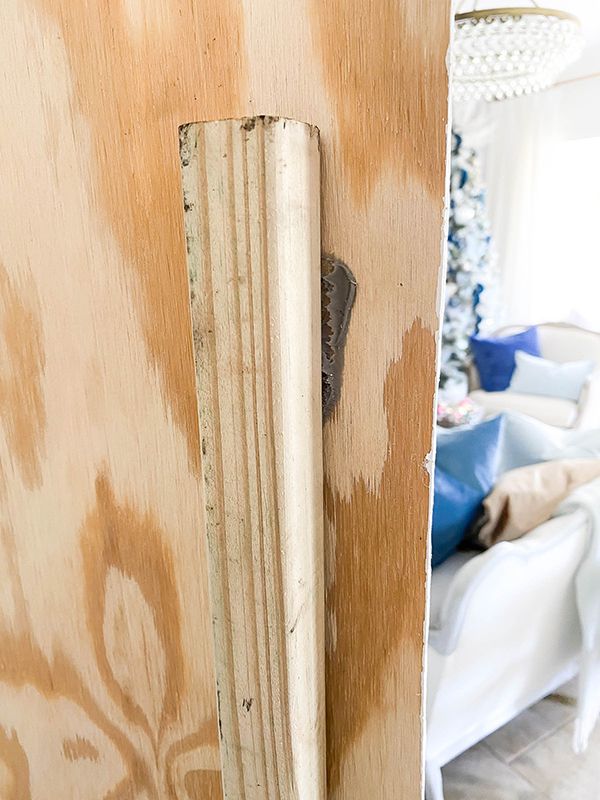
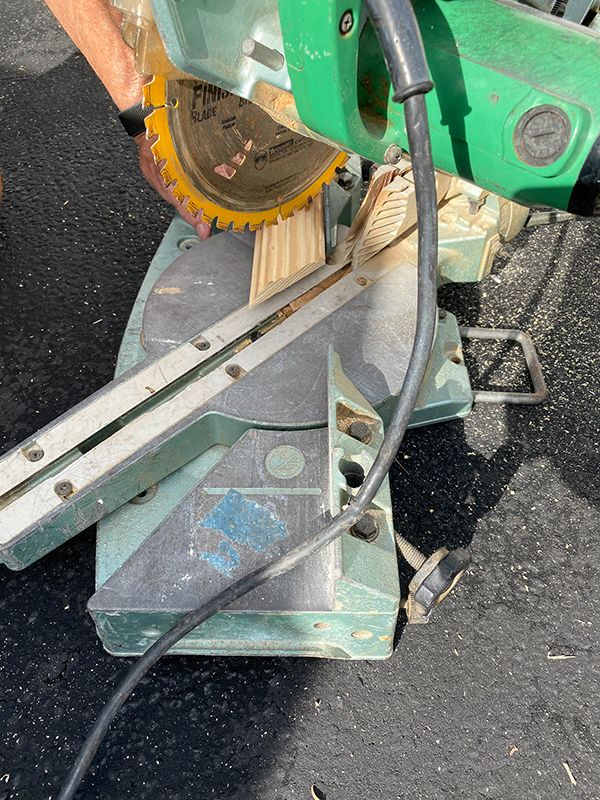
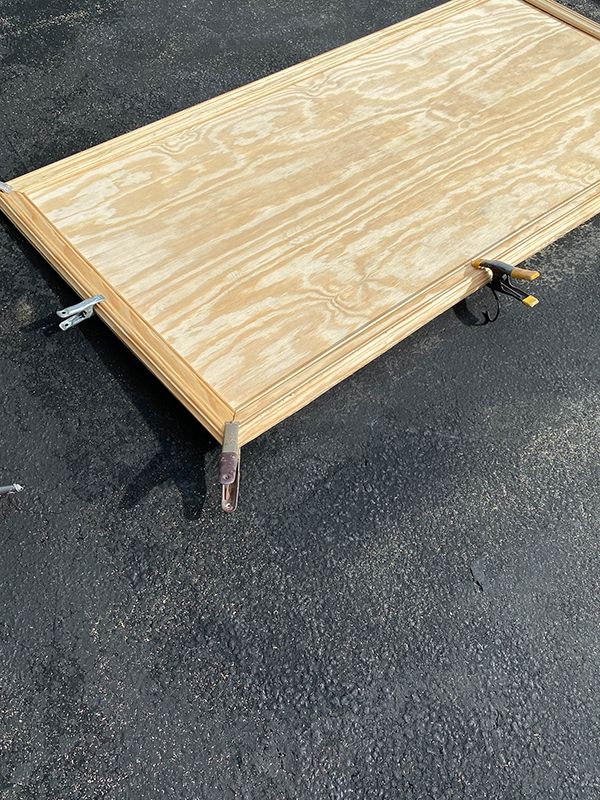
Cut And Affix The Wood Molding
Cut the wood molding to size to frame the plywood. Then attach the wood molding to the front of the plywood with caulk and clamp until dry.
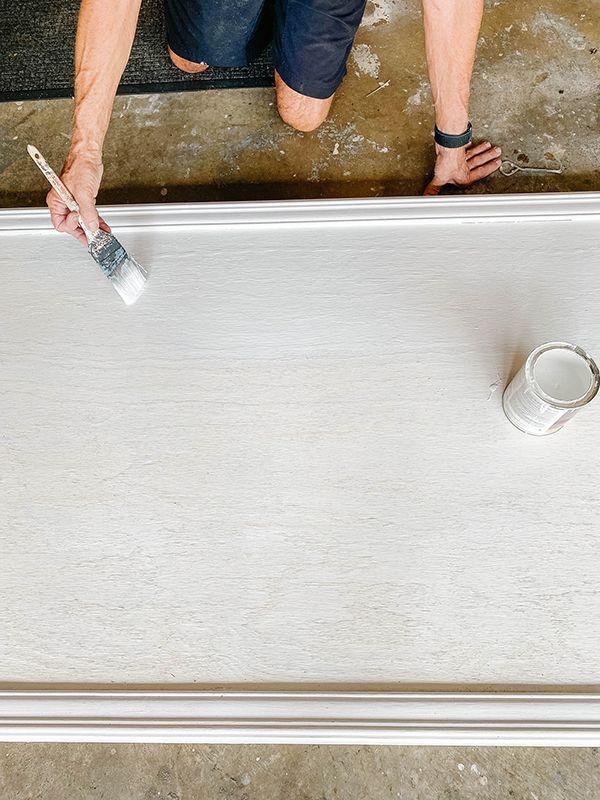
Paint The Panel
Once the caulking is dry you are ready to paint! Give the front of the wood a coat of primer and then finish with two coats of a high quality semigloss white trim paint.
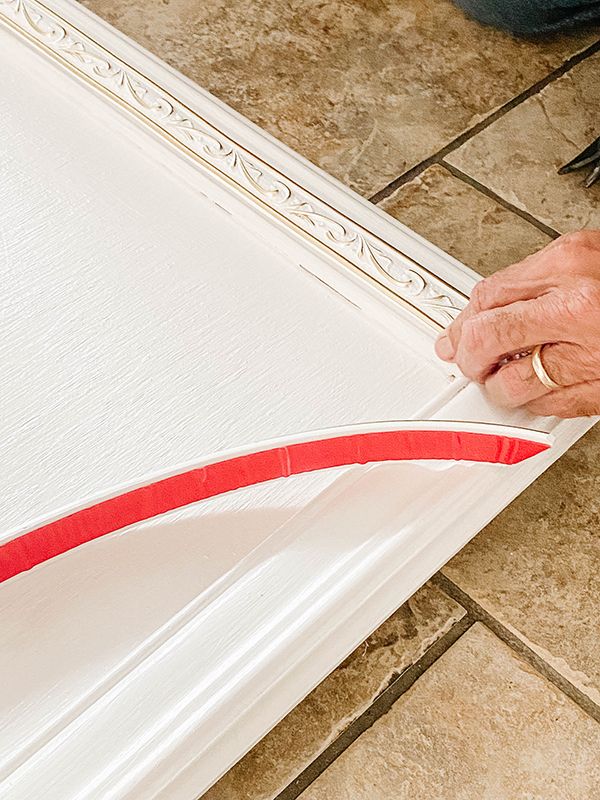
Add Decorative Molding
Add decorative molding over the existing molding on the front of the frame. We used plastic self adhesive molding for a special touch of glam!
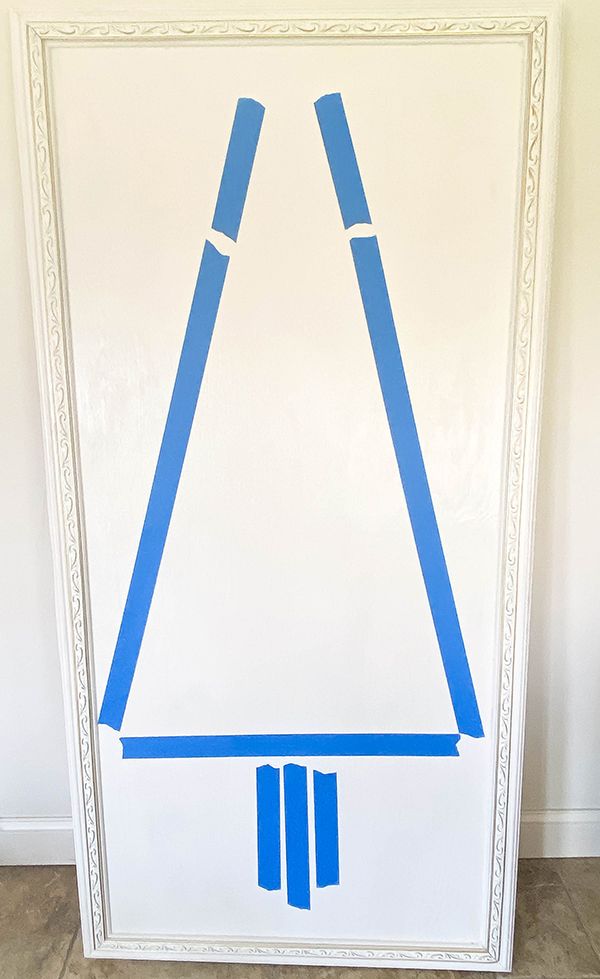
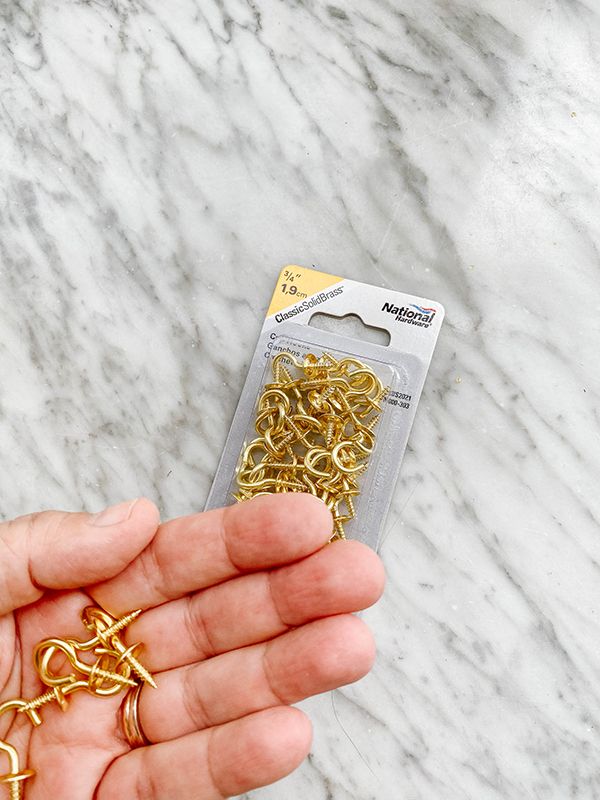
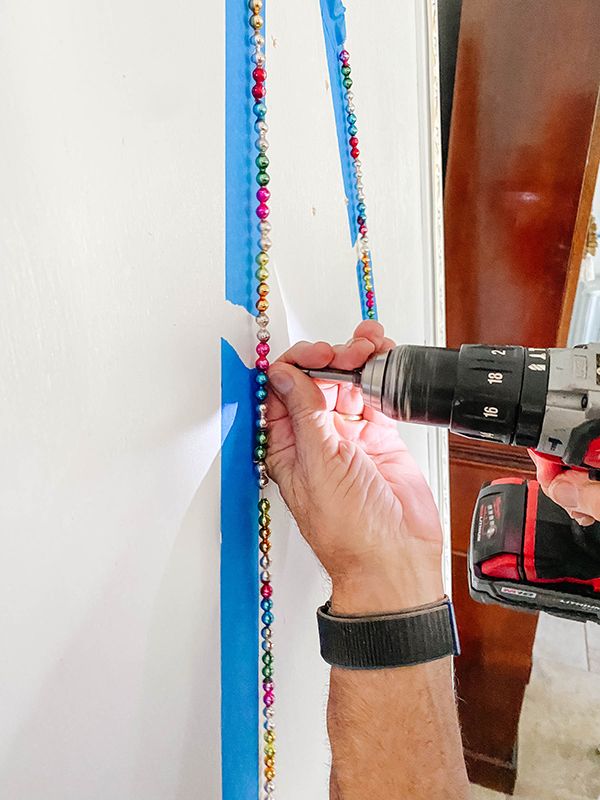
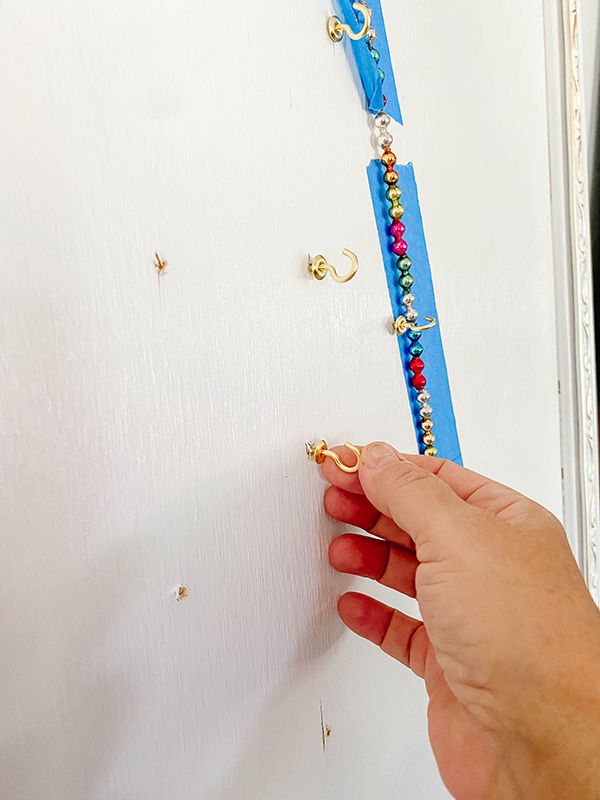
The Finishing Touch!
Now you’re ready for the finishing touch. Decide where you’d like to add the hooks for hanging your ornaments! We used the National Hardware 3/4″ Classic Sold Brass Cup Hooks laying them out in the shape of a Christmas tree using a painters’ tape outline as a guide. Pre-drilling the holes makes it easy to screw the cup hooks into place. Add your ornaments using cording or string and step back to enjoy!


Hardware
- Related Product Categories:
- Metal Hooks
- Wire Goods