
Easy DIY Built In Closet Organization
Nothing is better than an organized closet. Unfortunately, many of the standard wire closet solutions just don’t do the trick. Purchasing a custom closet system is great but is also typically not super affordable. The great news is that you can add in your own DIY custom closet system that is both practical and budget friendly. National Hardware has several great options for helping you get that perfect organized closet.
-
Difficulty:Intermediate
-
Team:1
-
Time:2 to 4 Hours
Tools
-
Drill Bit
-
Drill
-
Level
-
Ruler
-
Safety Goggles
-
Screw Drivers
-
Screws
-
Tape Measure


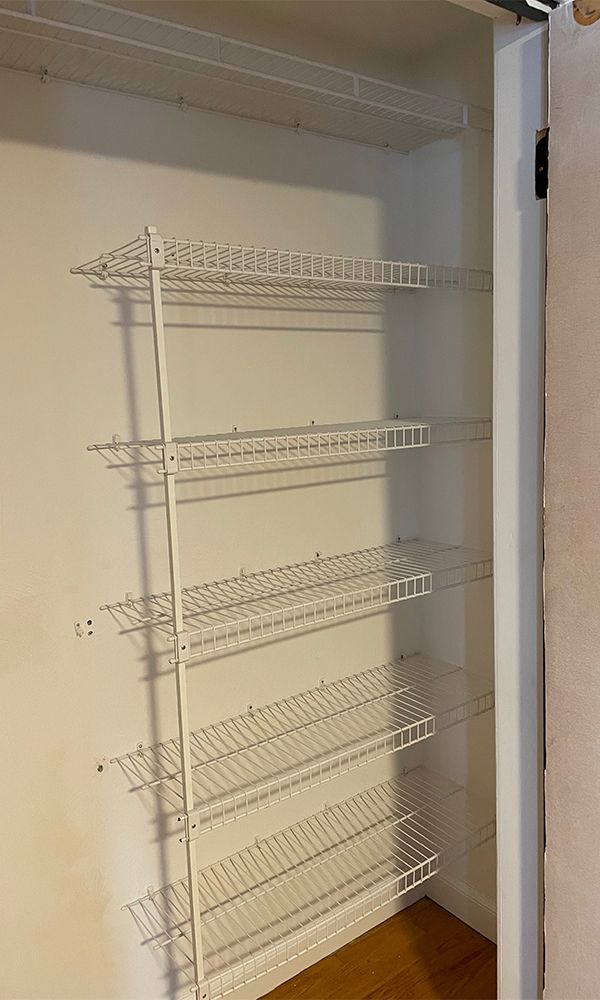
Clean Slate
Pull out any existing shelving systems that aren’t working. A clean slate is best when determining a custom DIY closet system. If your current system is wire shelving (or even if it’s not) you may need to patch and paint the walls before moving on to adding storage. Pro tip: Painting a bold color is an easy way to add drama and create a high end feel.
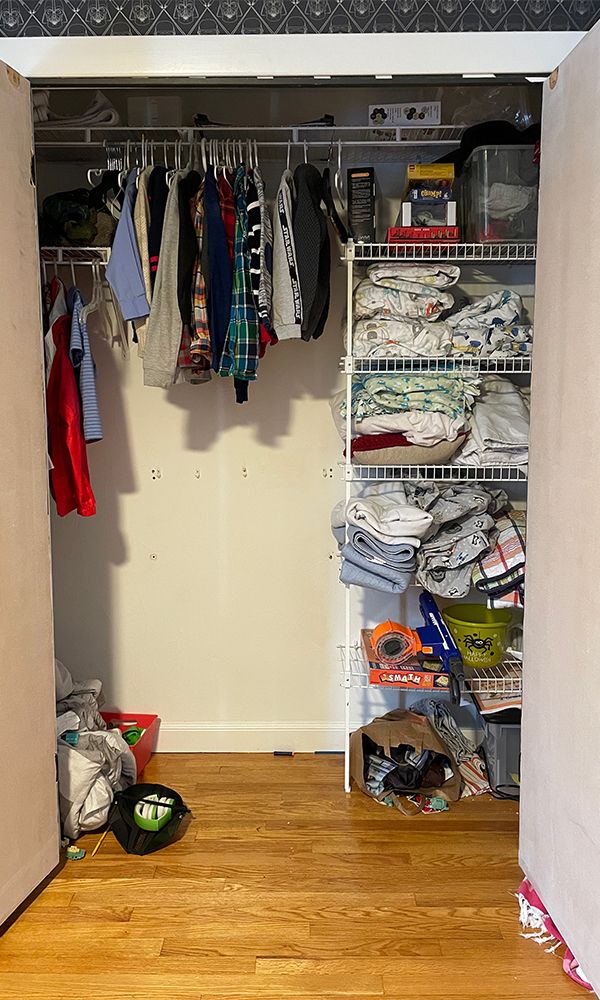
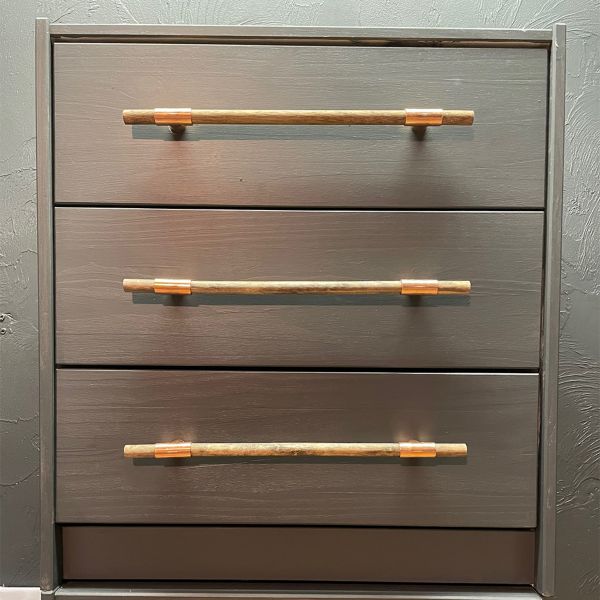
Determine Needs and Layout
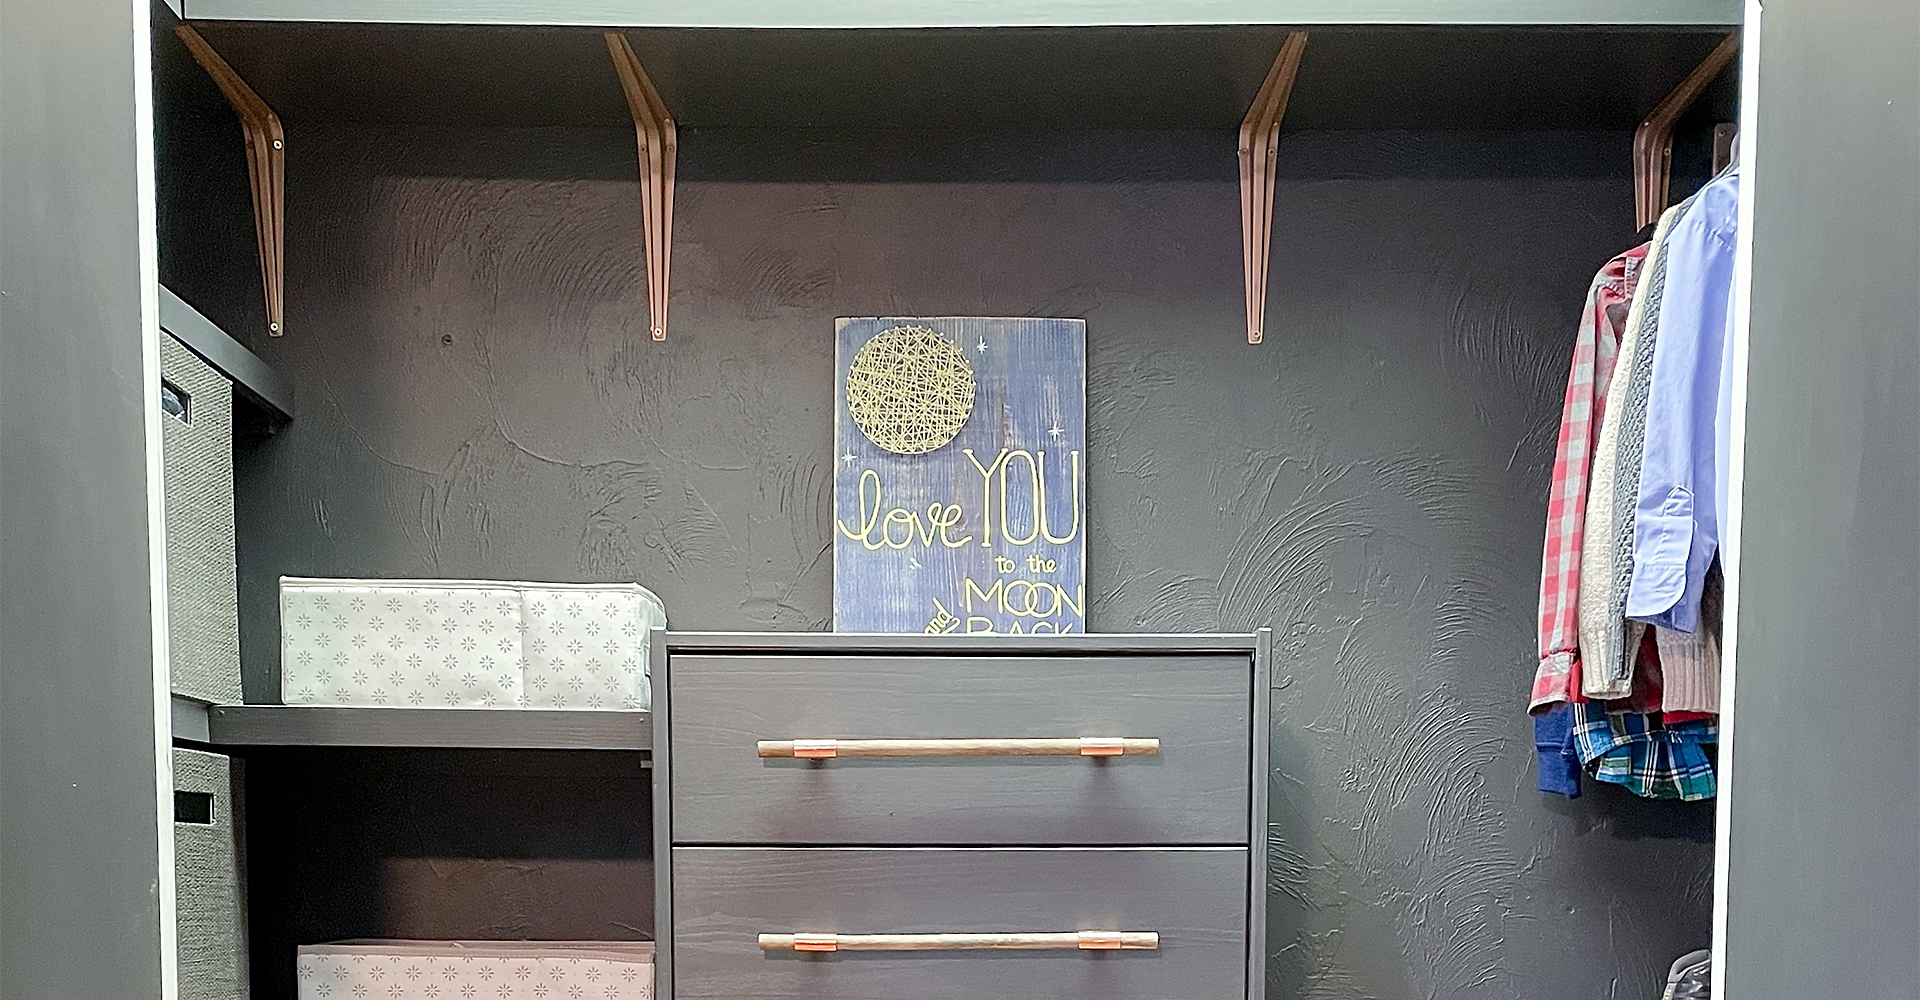
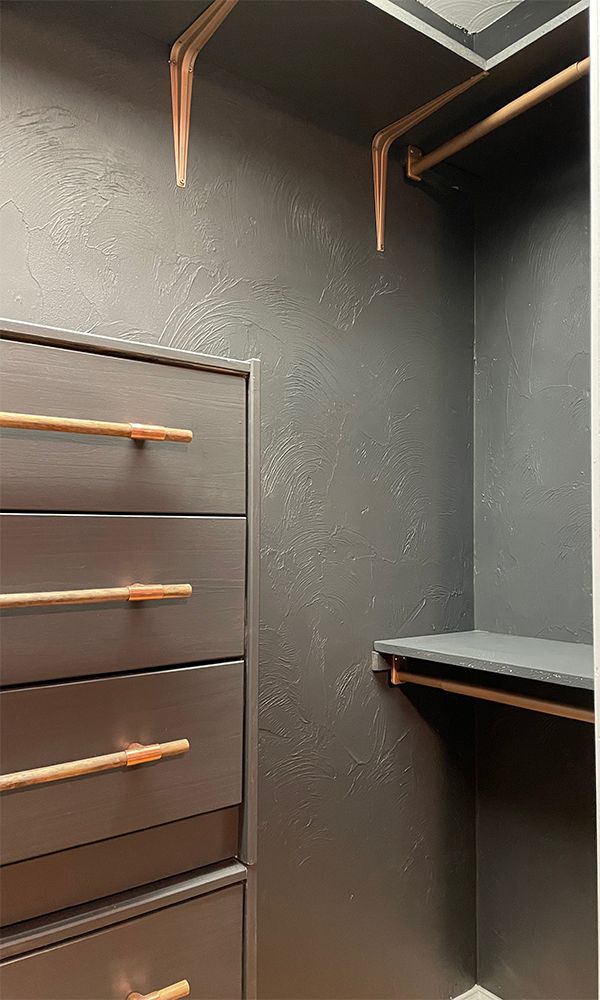
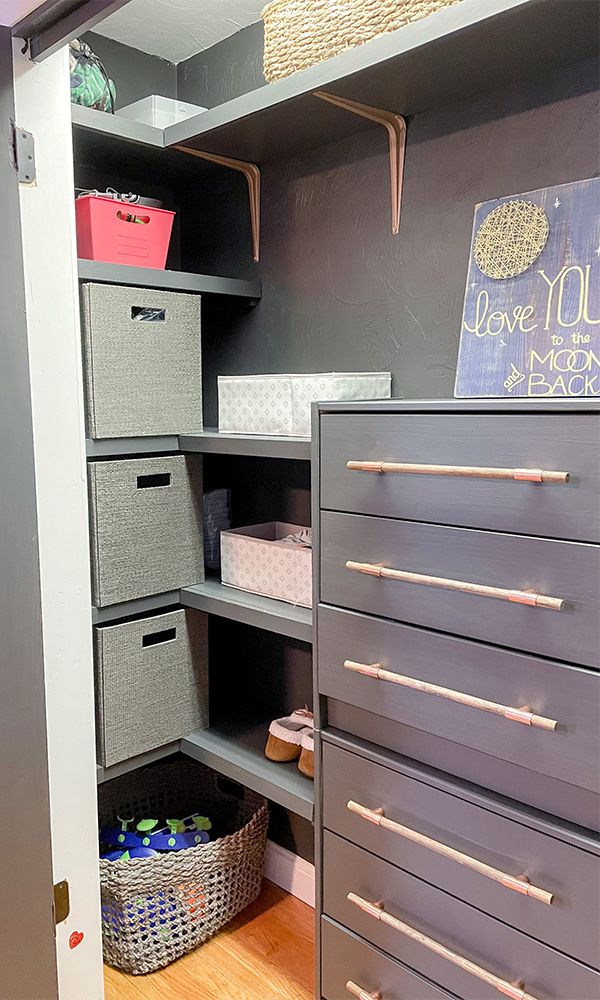
Determine your needs and layout. Some closets are large enough to include drawers. If this is the case, using premade dressers as your drawer system not only looks great but is also more budget friendly than most closet specific systems. In this closet, two small drawer units are stacked on top of each other and secured to each other to create small but functional drawer storage. Pro tip: Changing out hardware is the easiest way to create a custom look on an otherwise generic looking chest of drawers.
Install Shelving
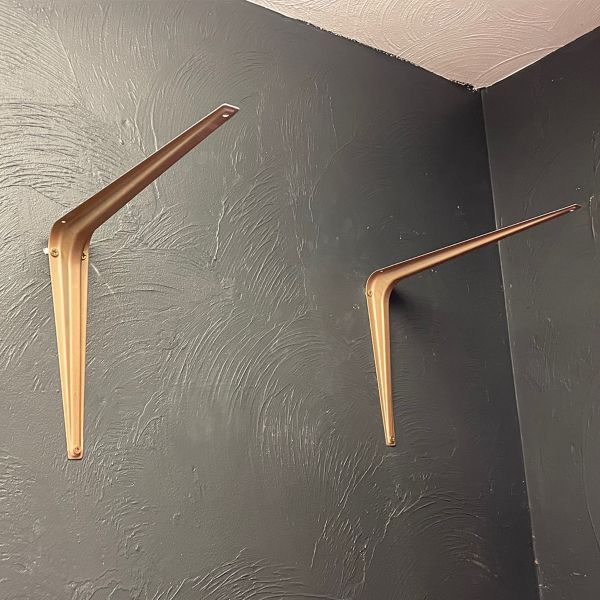
Add your shelving. There are two methods used to add shelving to this closet.
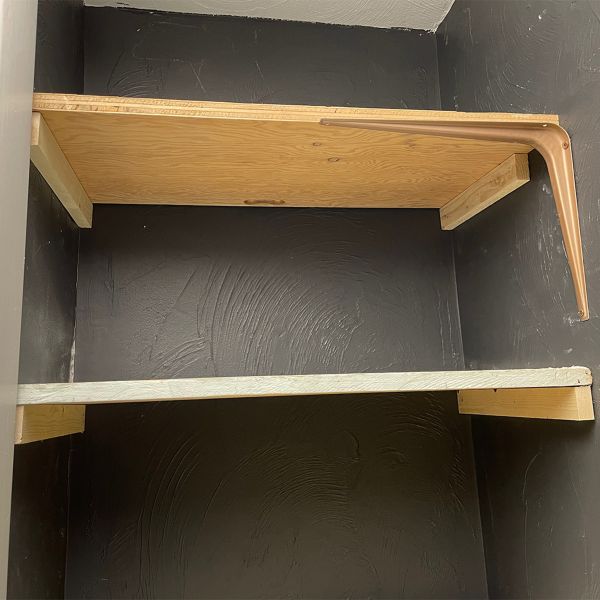
- Use National Hardware Shelf Brackets to create super easy and sturdy shelving. These brackets come in several colors and can hold up to 100lbs! Or, if you need a custom color for your closet, as in this case, a quick coat of spray paint will do the trick!
These brackets should be installed directly into the studs or used with heavy duty wall anchors. Once installed and level, the shelf just pops right on top and is secured in place with screws from the bottom. Super easy!
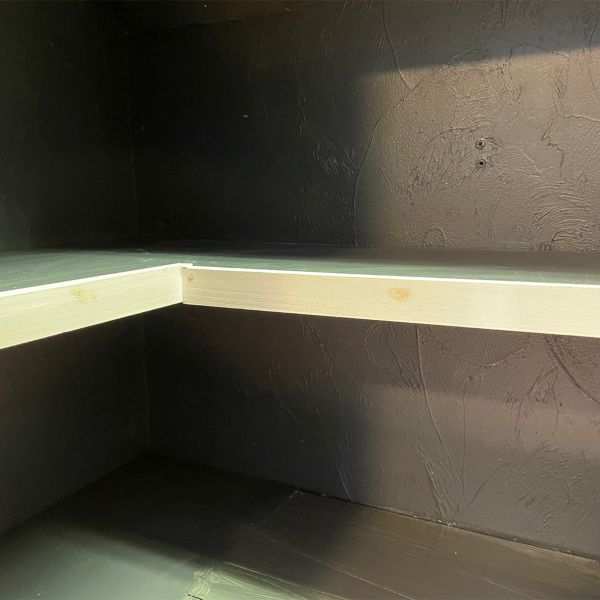
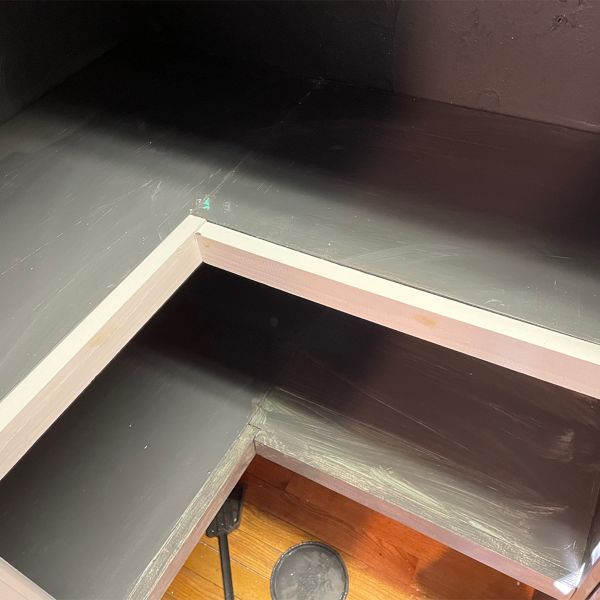
2. Smaller shelves can be installed without the help of brackets by nailing 1x2 boards directly into the wall. Add 1x2s on each side of the shelf, and cut them the same width of the shelf. Then nail the 1x2s into the wall, catching the studs if possible. If accessing studs is not possible, put your nails in at an angle using a crisscross method to make sure the supports are nice and sturdy. The shelving (typically ¾” plywood cut to size or 1” common boards) can then be placed on top and nailed directly into the supports.
Add Additional Organization
Once the shelving is in place, it is time to add any last minute storage needs like closet rods or hooks. I love these National Hardware closet rods because they are adjustable and super easy to install. This is a great opportunity to take advantage of those awkward spaces inside your closet that are otherwise hard to reach.
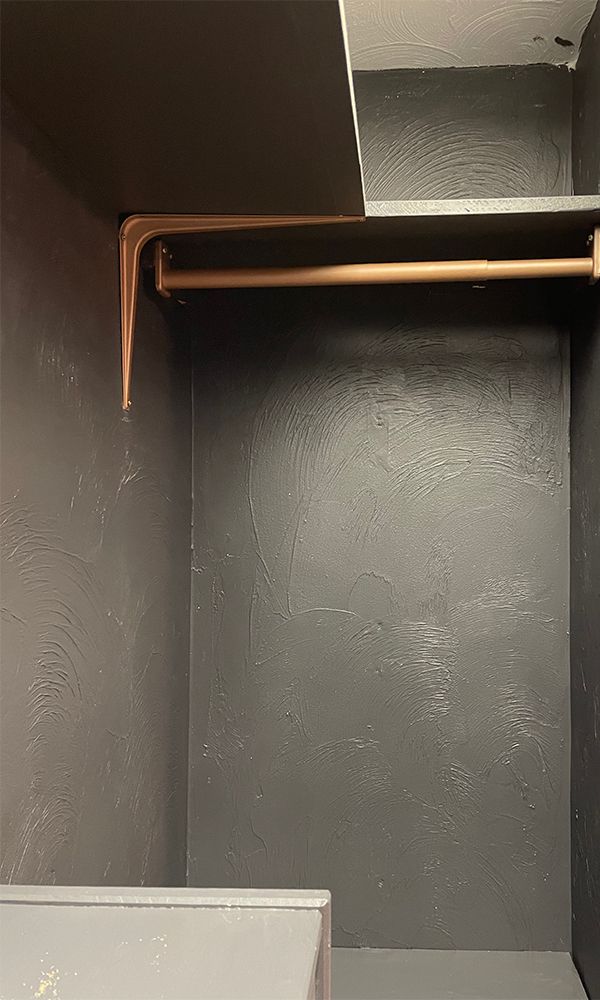
These rods, since they are adjustable, can be made pretty small to fit in tight spaces and are a perfect way to make use of that closet space to the side of your doors that is normally hard to reach and really helps make the most of a smaller closet.
Details and Finish Work
To create a nice finished built in look, make sure to add trim to the front of your shelving. The easiest way to accomplish this is by nailing 1x2 boards across the front of all exposed shelving.
With a little planning and elbow grease, you too can have super functional and beautiful closet space, with a little help from some beautiful National Hardware closet hardware, of course!

Hardware
- Tags:
- Closet Hardware
- How To Projects
- Organization
- Weekend Warrior
- Bedrooms
- Closets
- Indoors
- Living Rooms
- Related Product Categories:
- Closet Brackets & Supports
- Closet Hardware
- Closet Rods