
Easy DIY Floating Shelves
-
Difficulty:Beginner
-
Team:1
-
Time:2 to 4 Hours
Tools
-
Drill Bit
-
Drill
-
Level
-
Ruler
-
Safety Goggles
-
Screw Drivers
-
Screws
-
Tape Measure


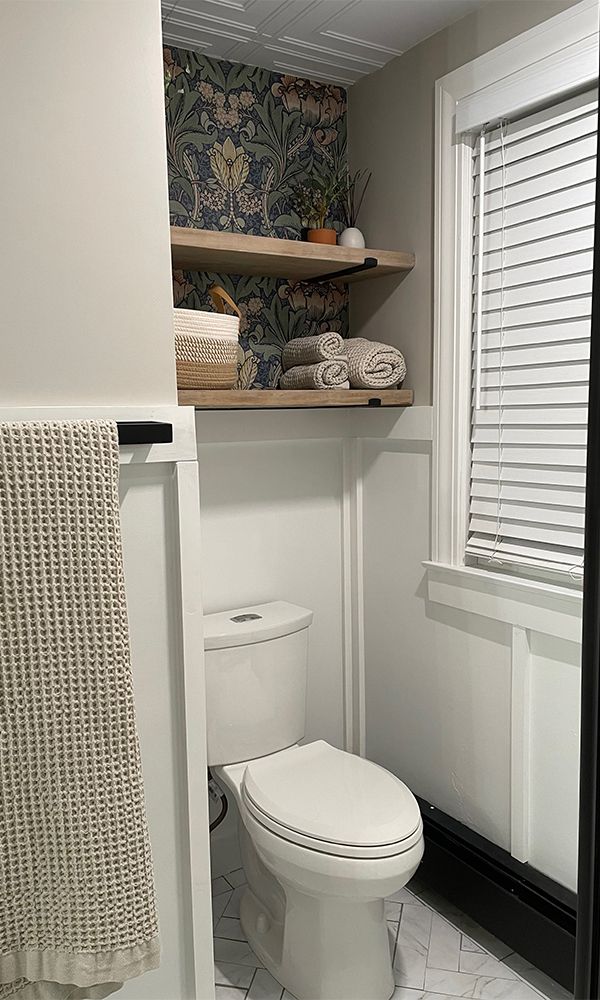
Prep The Space
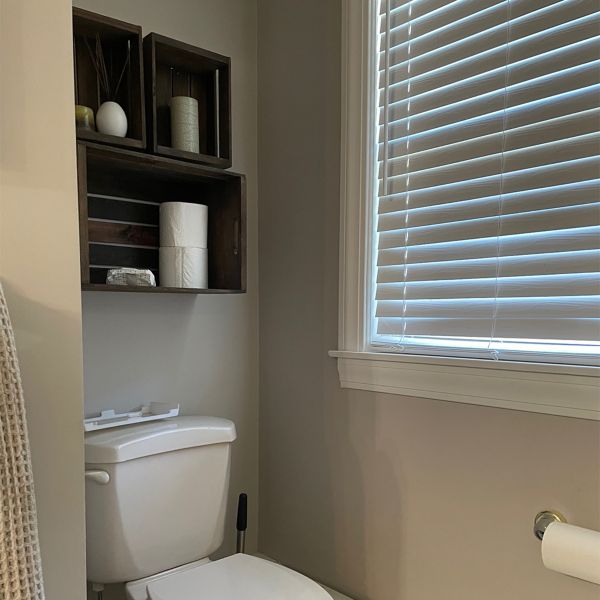
Remove any old shelving or storage from above the toilet. Patch any holes and paint if you are planning to change the color of the wall.
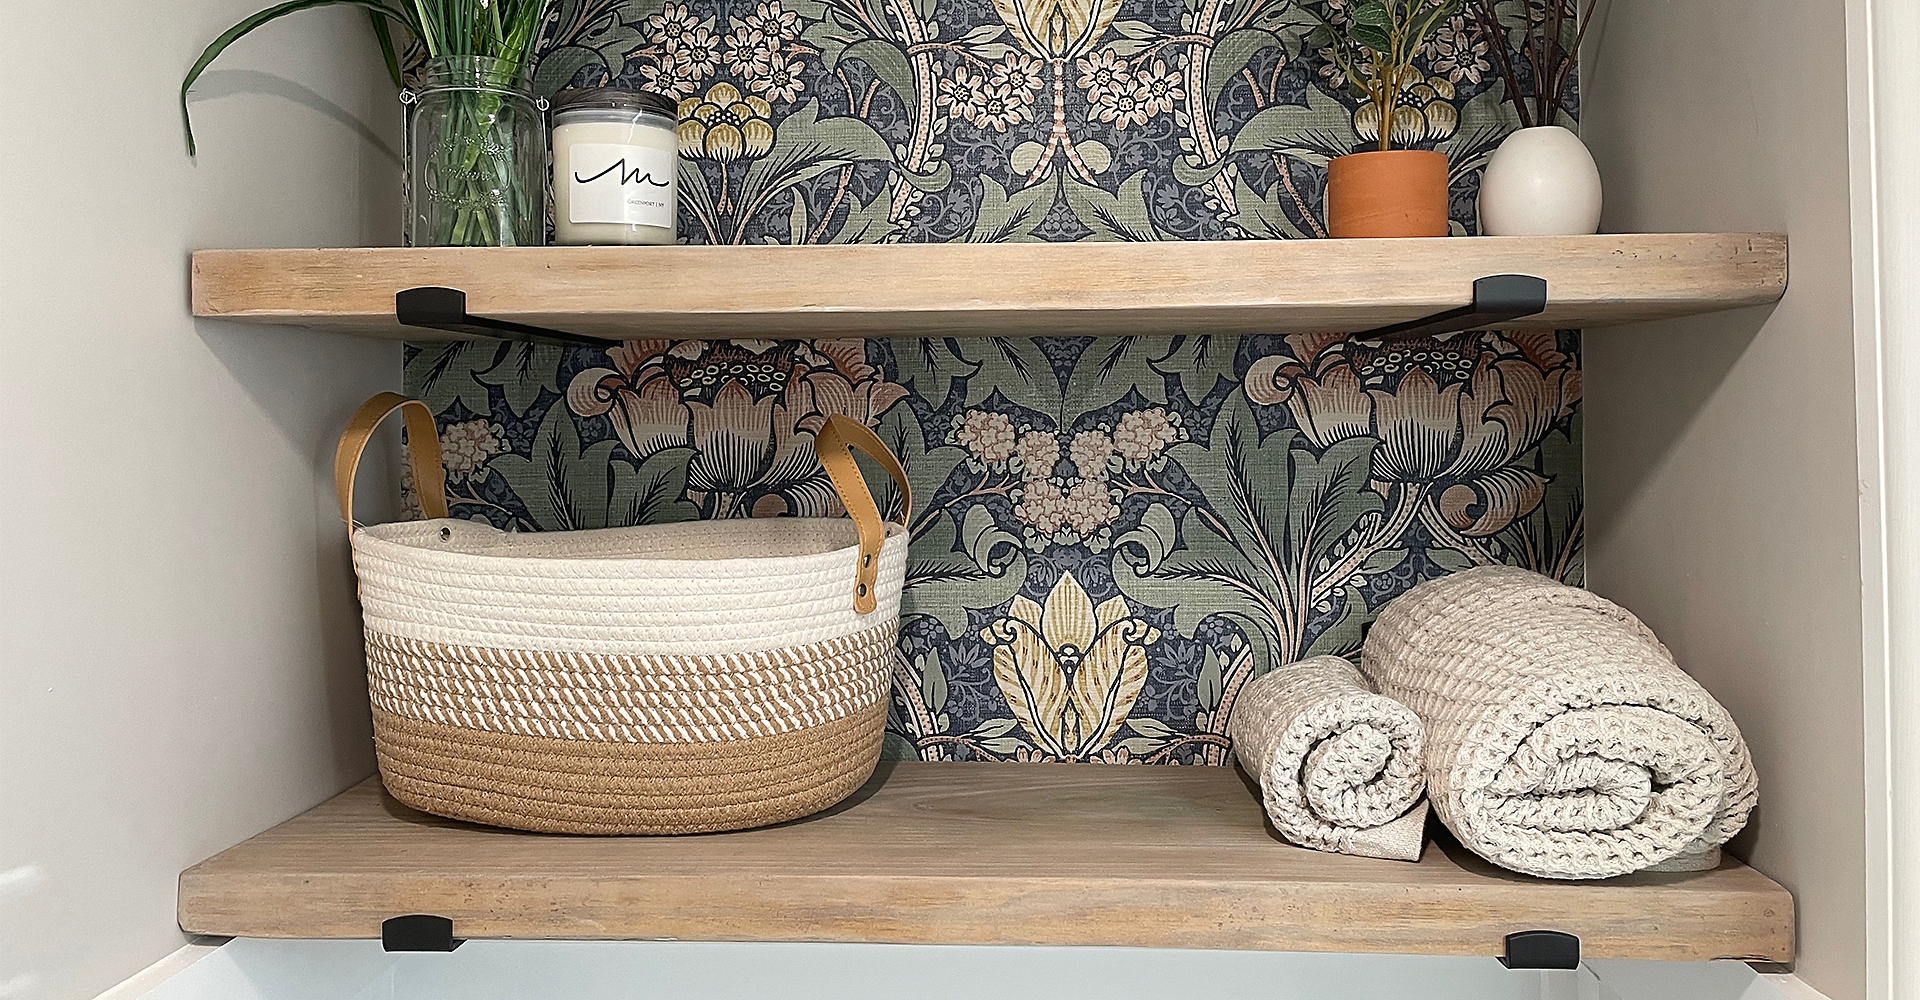
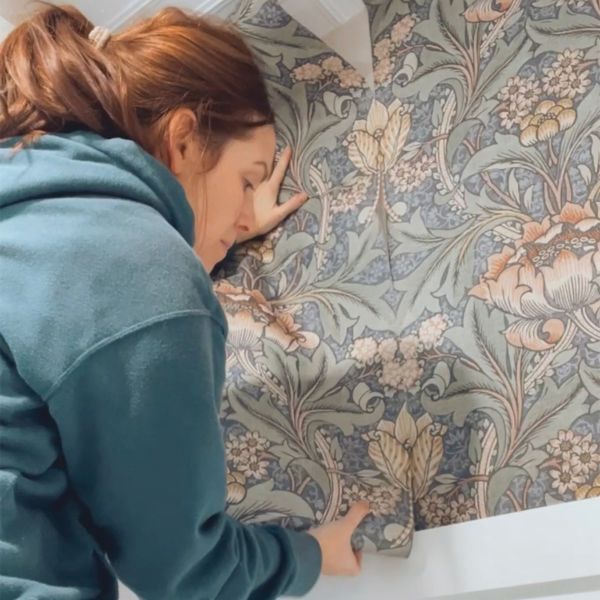
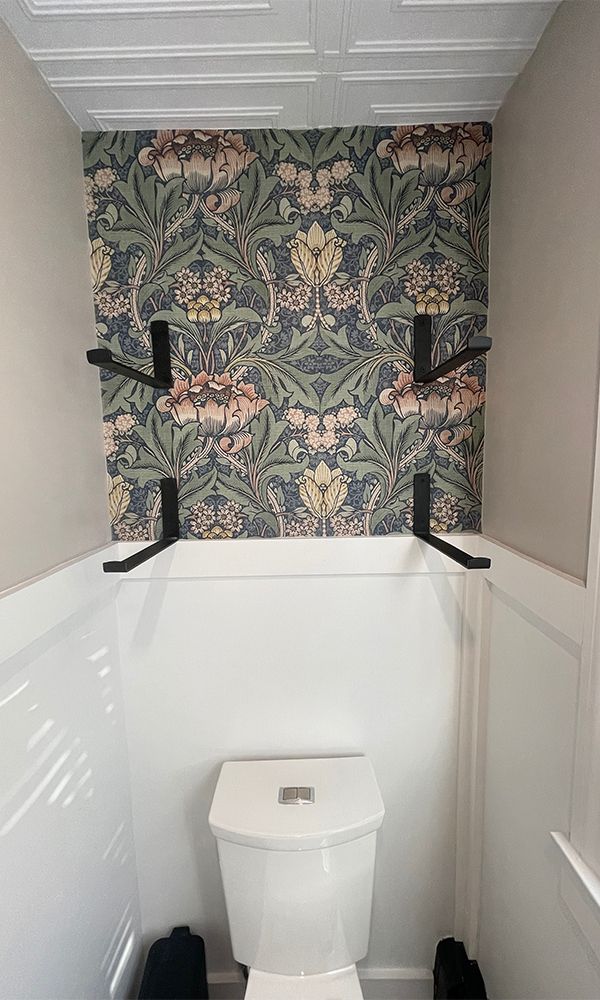
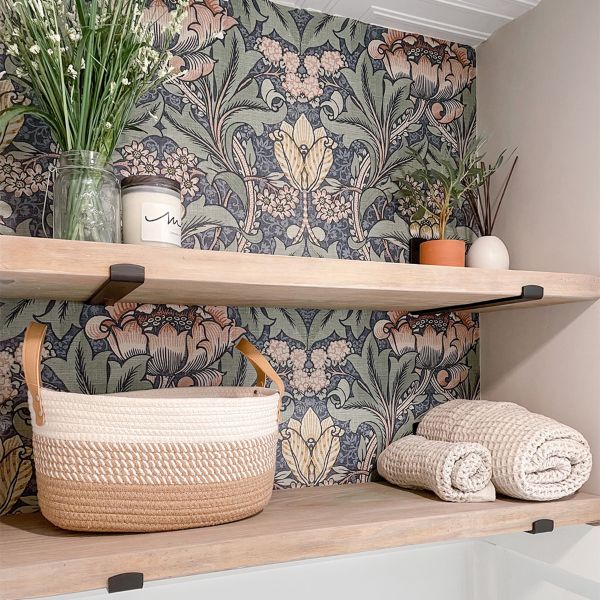
Add a Pop of Pattern
There are two good ways to add some pattern into your space. One is by applying wallpaper. The wallpaper in this bathroom is peel and stick which makes it very easy to apply and remove at a future date so it is perfect for renters (or those who like to change things up). You could also use more traditional pasted wallpaper or add pattern with a stencil and paint. Make sure to do this first before adding the shelving.
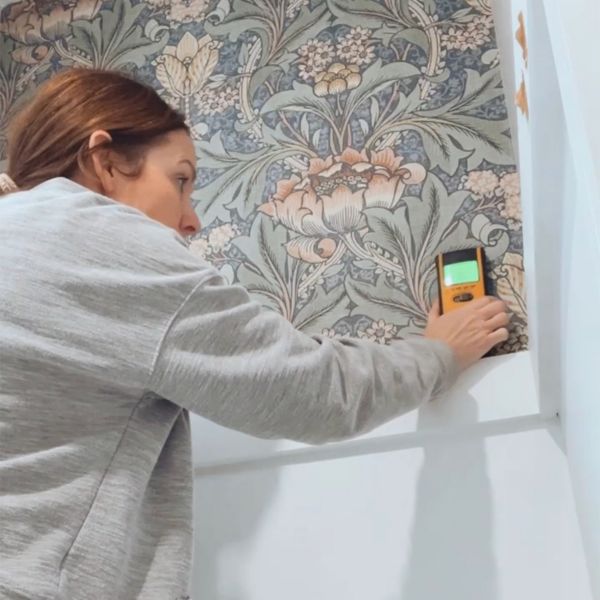
Install the Shelving Brackets
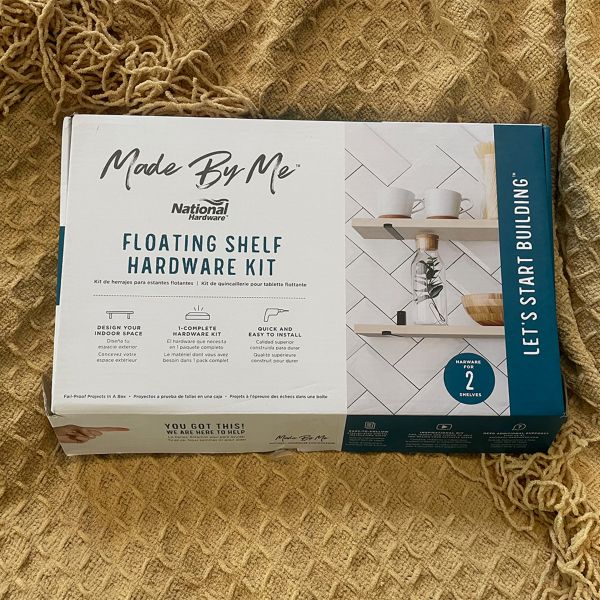
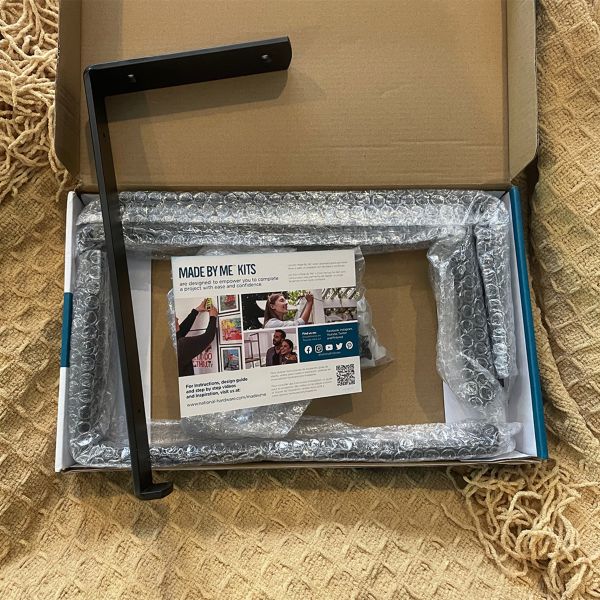
The National Hardware kit comes with everything you need to install the brackets. First locate your wall studs and, if possible, install your brackets directly into the studs. For this wall, the studs did not line up in a visually appealing way. But no fear! The kit also comes with wall anchors that can be used in place of stud installation.
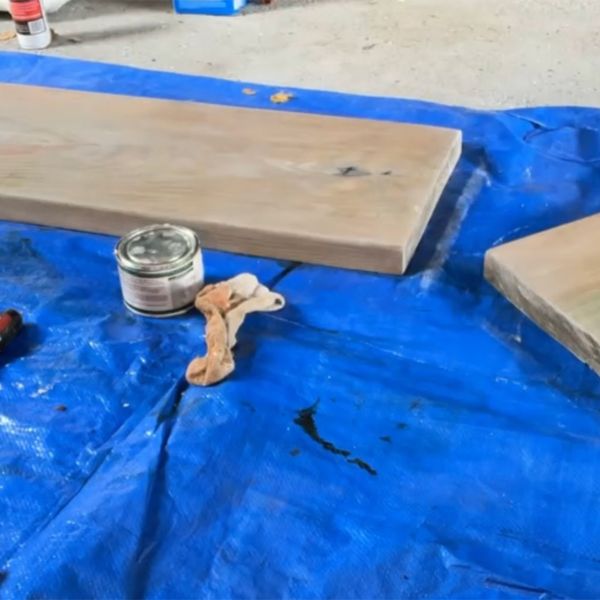
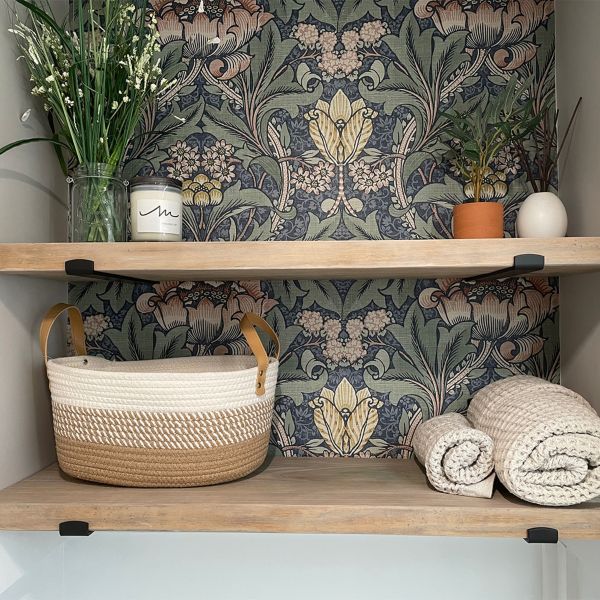
Create Your Shelves
These shelves were made from a 2x12 board purchased at a local big box store, cut to length, and then sanded and stained. Alternatively, it is very easy to find premade shelves to purchase in any finish and length you'd like. Then just place the shelves on top of the brackets and, using the provided screws, secure the shelf to the bracket from the bottom.
These floating shelves add so much storage and style and could easily be used anywhere in the home. The National Hardware kit makes it so easy to do, you will want to put these floating shelves in every room!
Hardware
- Related Product Categories:
- Shelf Hardware
- Storage & Organization