-
Difficulty:Beginner
-
Team:1
-
Time:2 to 4 Hours
Tools
-
Hammer
-
Pencil
-
Ruler
-
Safety Goggles
-
Screw Drivers
-
Screws
-
Tape Measure


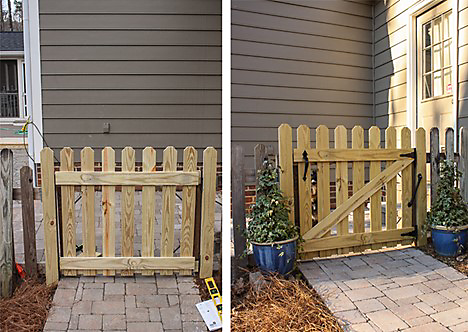
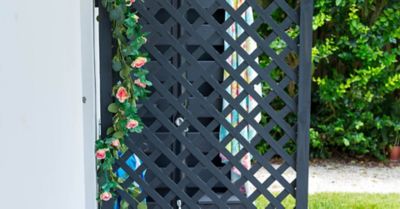
Select Your Location

Decorative Hardware
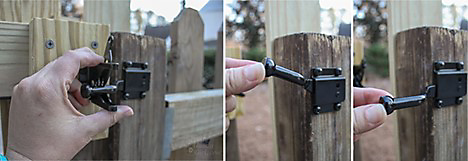
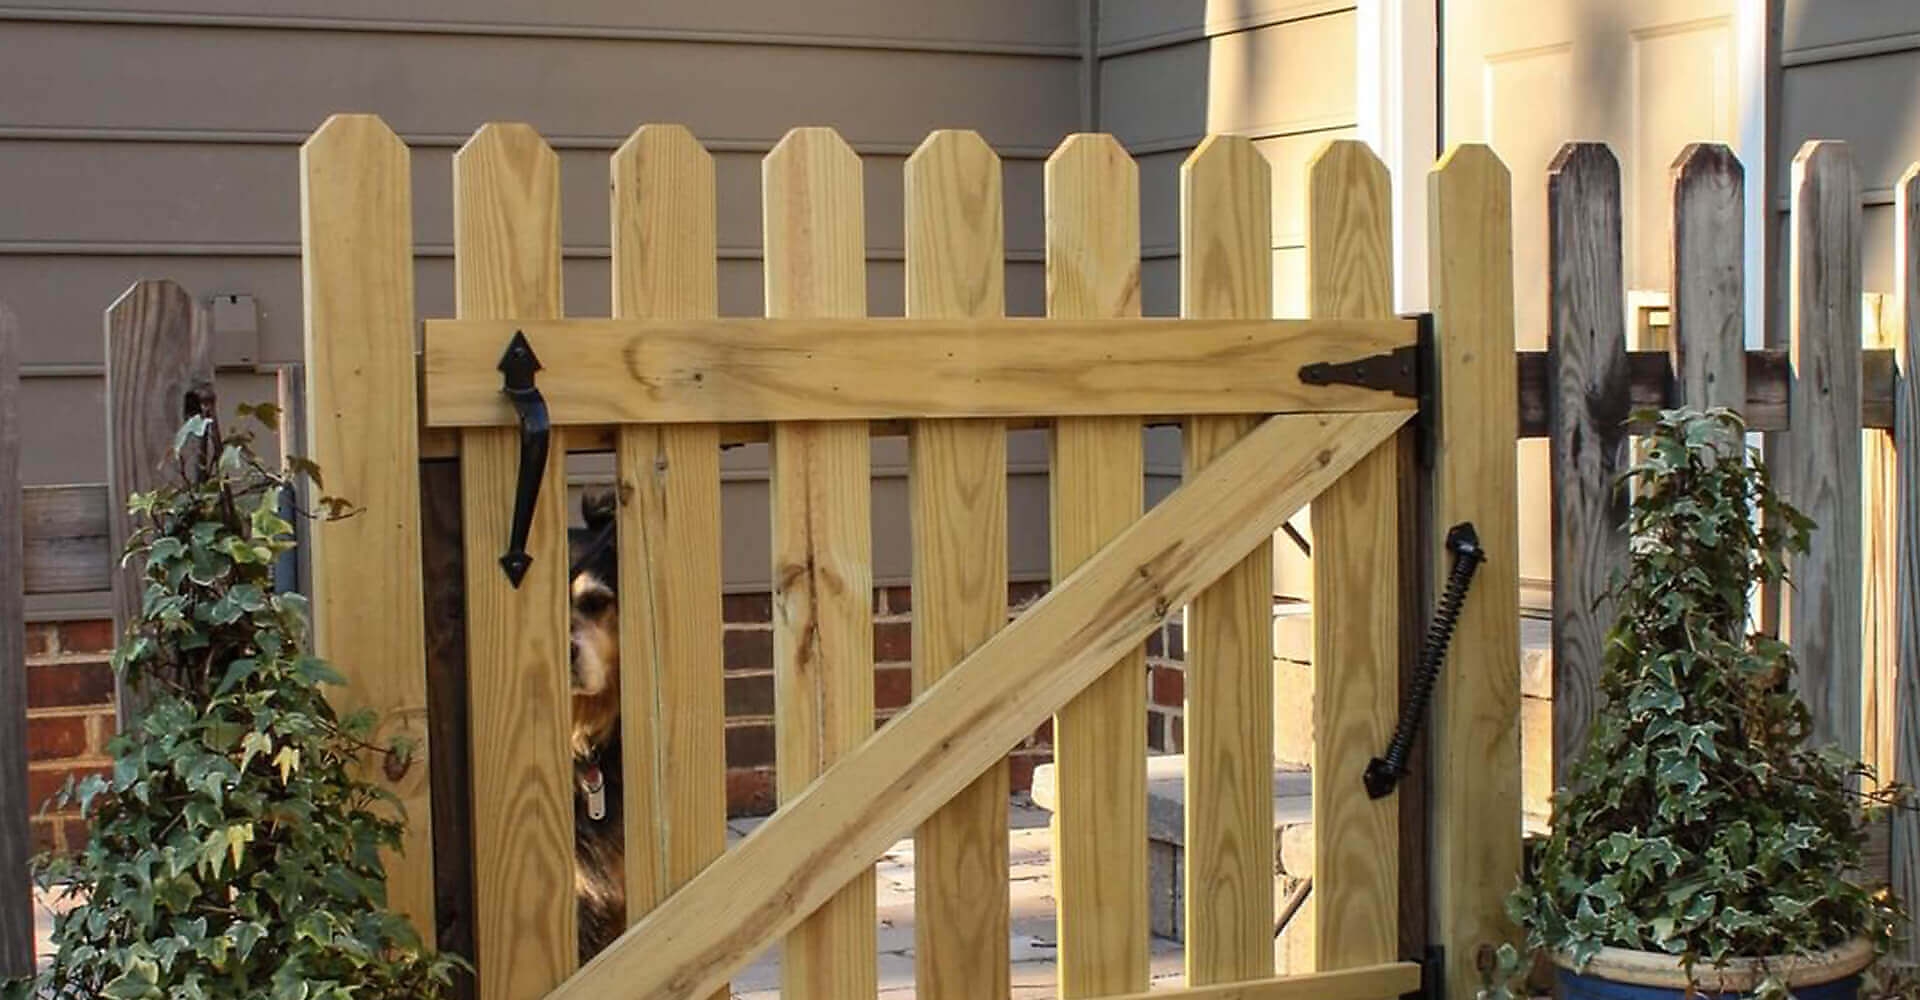
Install Latch and Catch
Install the latch to the post. Then, determine where you want the catch to be positioned while holding the catch, ensuring the hardware is straight. Test it with the latch to make sure the gate will properly close before affixing to the gate.
If satisfied with the catch placement, using the provided screws, affix the catch to the gate.
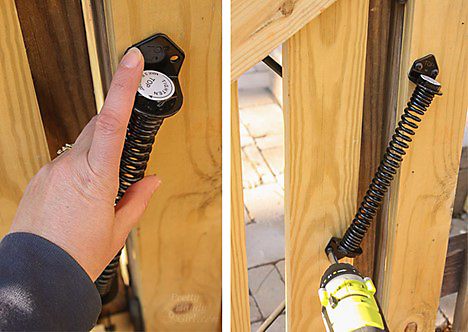
Install the Spring
Determine where you want the spring to go. Brittany recommends installing the spring diagonally with the top being on the outer post and the bottom being on one of the slats of the gate so the gate will close automatically.
Drill the spring, attaching it to the pre-determined spots and then take the pliers to tighten the spring. The Self-Closing Spring from National Hardware comes with a black metal bar you can then place behind the tightened spring so it won't be easily unwound.