
Inexpensive Kid Workbench Build
-
Difficulty:Beginner
-
Team:1
-
Time:Over 6 Hours
Tools
-
Drill Bit
-
Drill
-
Level
-
Ruler
-
Safety Goggles
-
Screw Drivers
-
Screws
-
Tape Measure


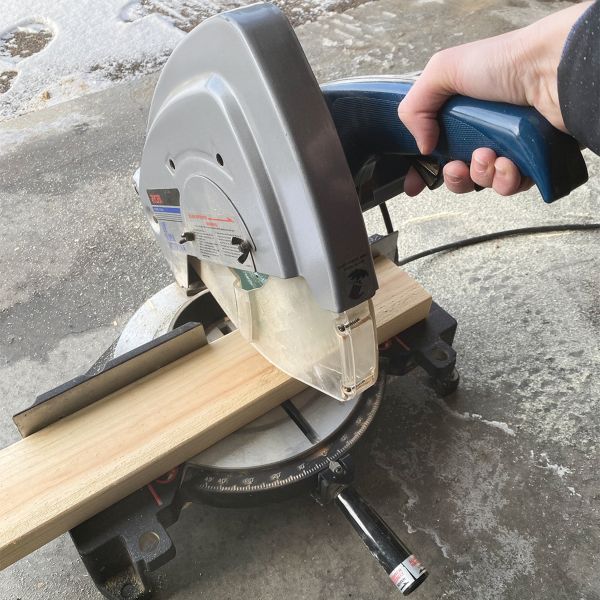
Cut Boards
First, cut your 2”x4” boards for the workbench base using a miter saw. You will need to determine your lengths based on how tall your child is. I recommend building it so that the top of the workbench is at or a bit below your child’s elbows. The entire workbench should be 4’ wide and 2’ deep. This will ensure that your 2’x4’ MDF top and pegboard fit just right.
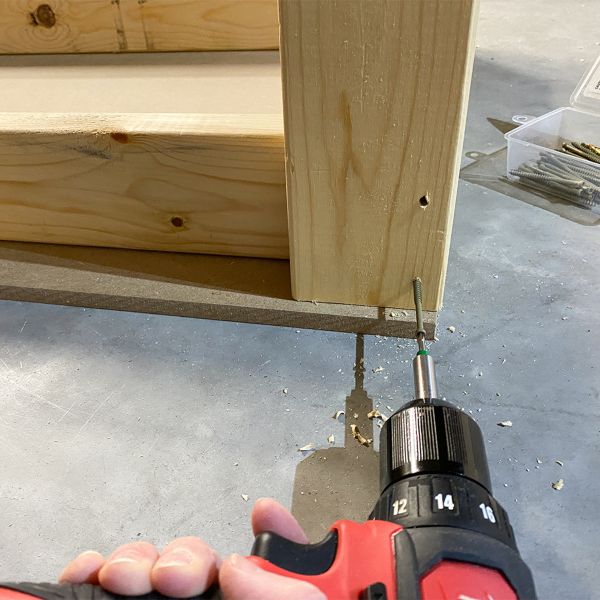
Drill and Screw
Assemble your workbench base using a drill and wood screws.
Attach MDF
Attach the MDF top using screws on each of the four corners. You could also use plywood for the top but MDF is a lot smoother and kids can’t get slivers from it. Therefore, MDF is a great choice for the top!

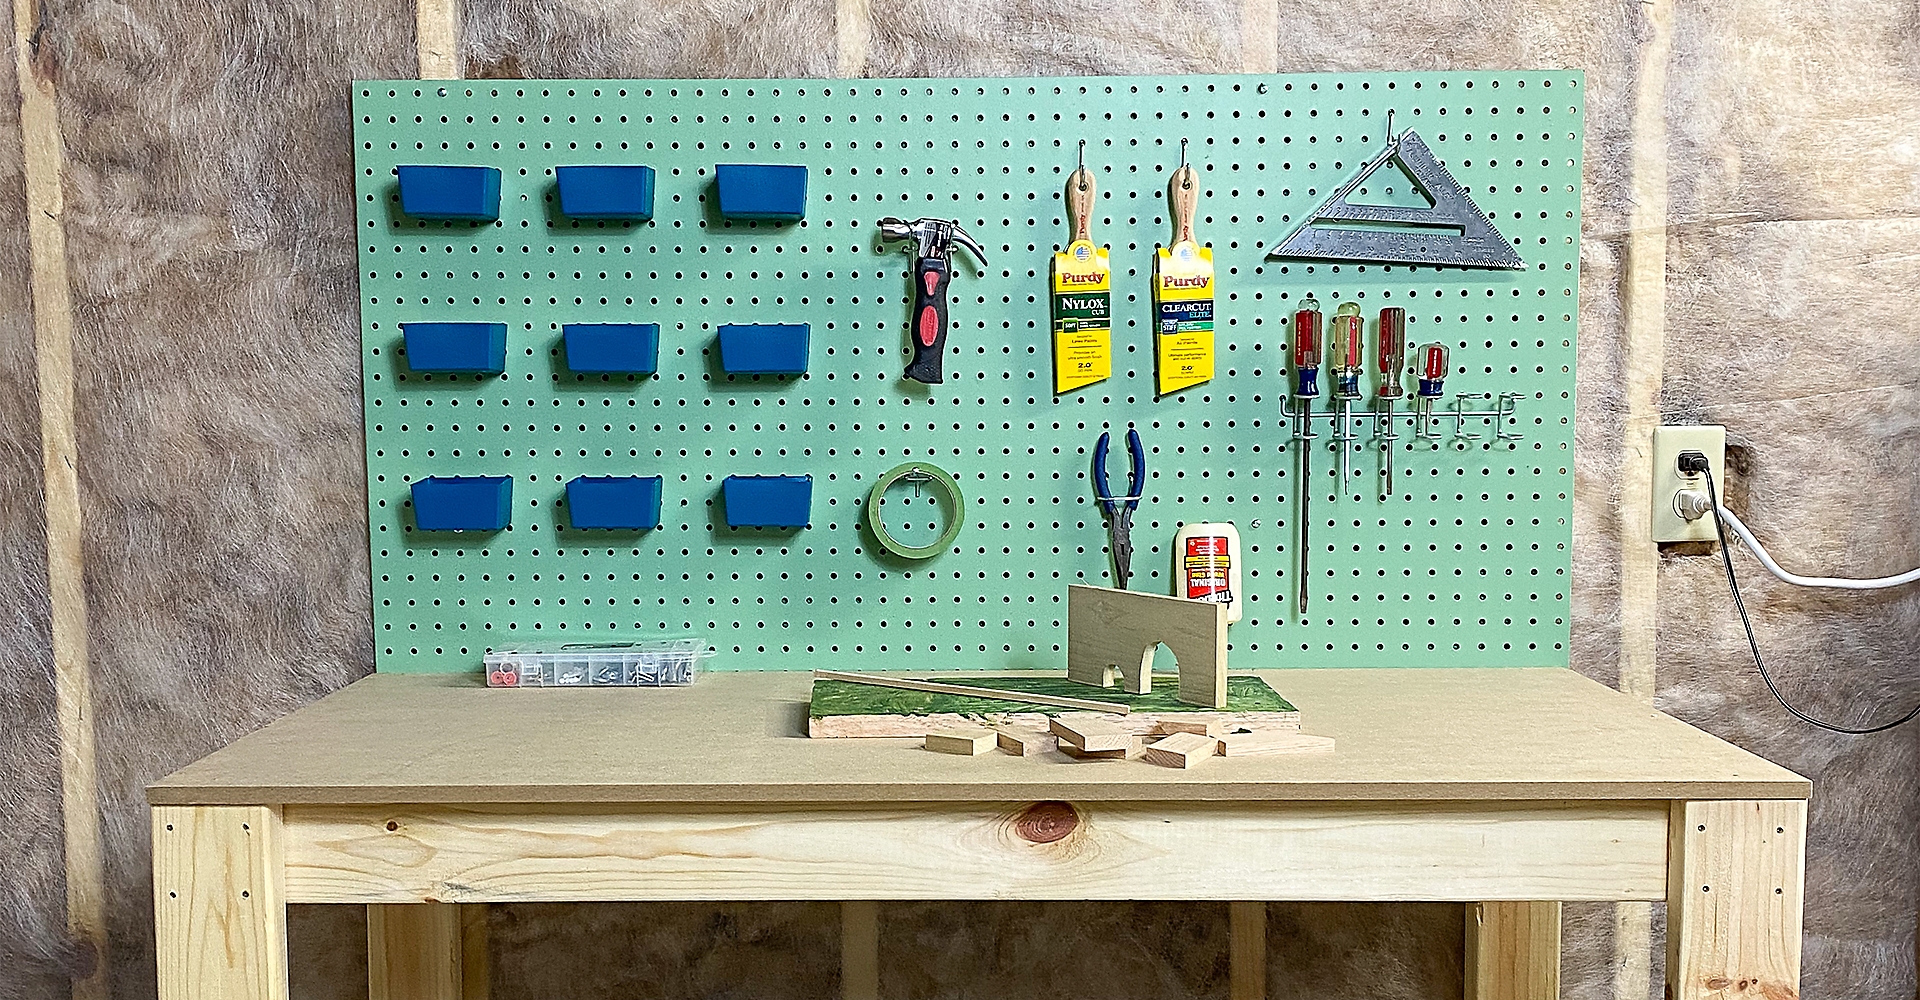
Paint Pegboard
Paint the pegboard using a roller or spray paint. You can choose whatever color your child likes best or whatever color paint you already have on hand. You can use rolled-on wall paint or spray paint for this step.

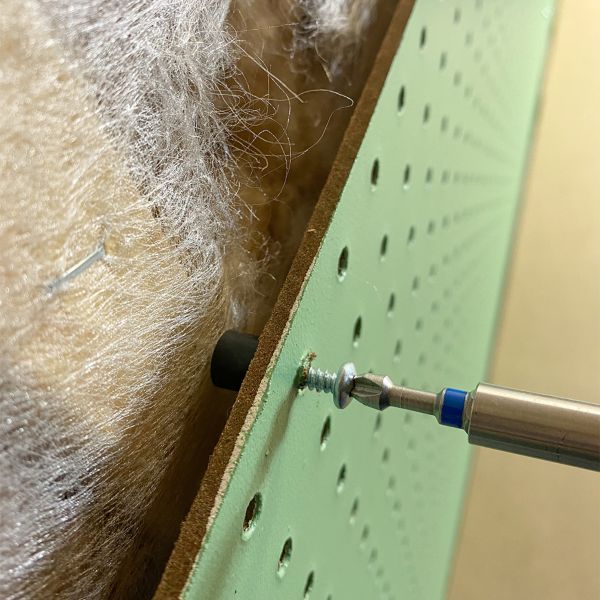
Install Pegboard
Install the pegboard into the wall using National Hardware Pegboard Spacers. Pegboard spacers create a gap between the wall and the pegboard. This gap allows the pegboard hooks to hang properly. Therefore, don’t forget to use pegboard spacers so that everything functions properly when you’re done!
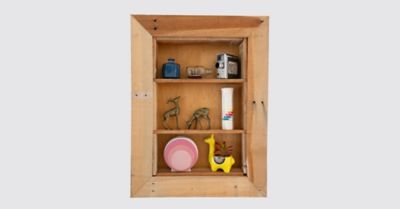
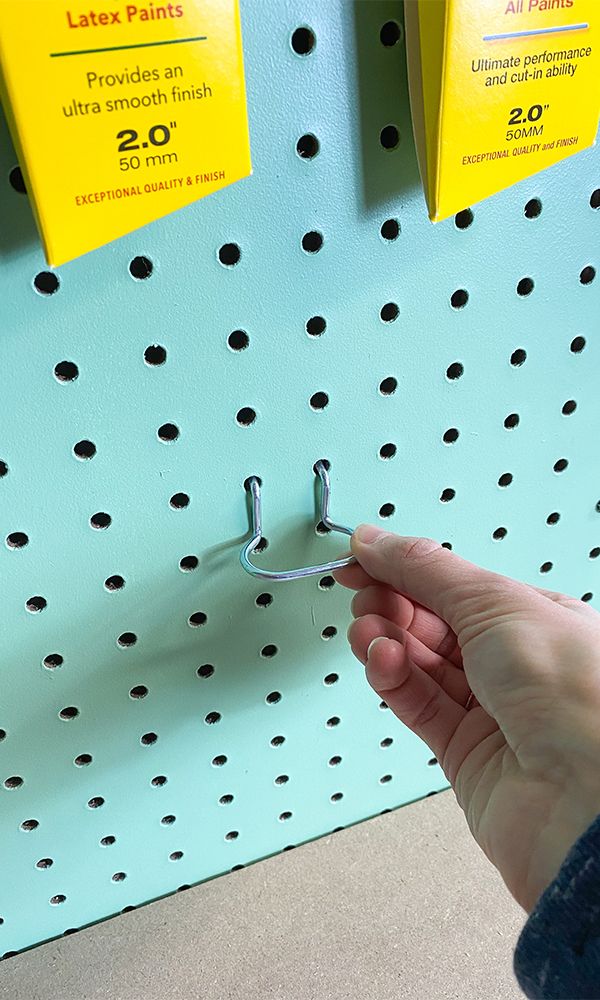
Attach Hooks and Trays
Attach National Hardware Hooks and Trays. This is the fun part. Add hooks and trays depending on what tools you have to hang and store. Move the hooks and trays around until you are happy with the look of your pegboard.
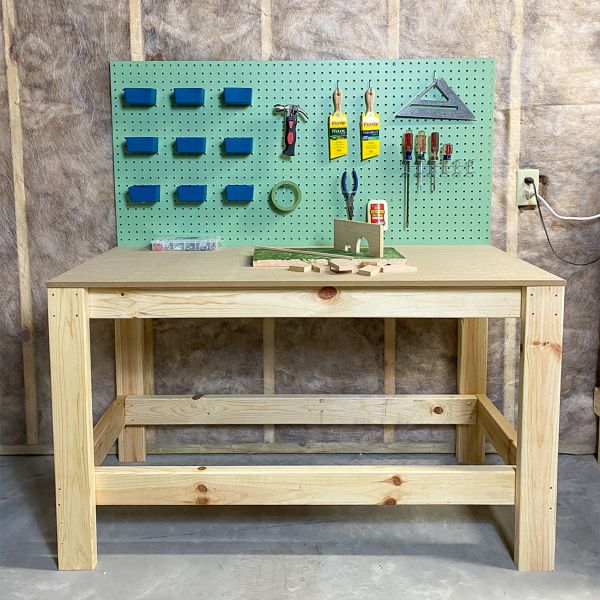
Now you’ll have a beautiful workbench for your kids to enjoy.
Hardware
- Related Product Categories:
- Pegboard Accessories
- Storage & Organization