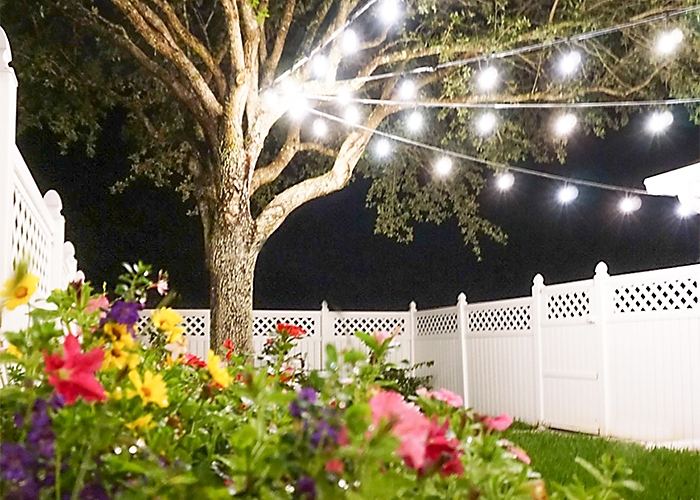

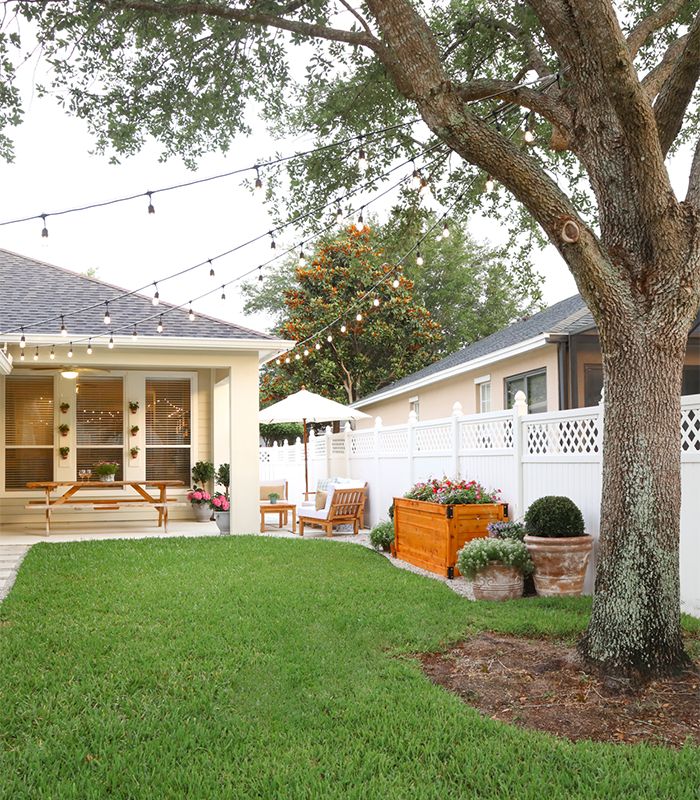
Outdoor String Lights
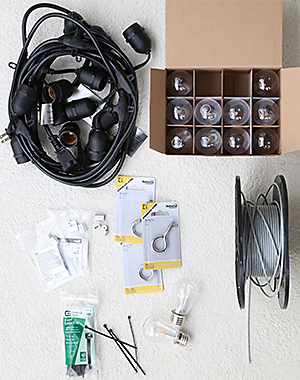
To start you'll need the following materials:
- about 80, 4” Zip ties
- 150 feet of vinyl coated galvanized steel cable (buy it by the foot in store)
- 5 Stainless steel eyelets (National Hardware)
- 4 Ferrule & Stop sets (National Hardware)
- 4 sets – 24-foot Canopy/String lights (obviously!)
- 5 Quick links (National Hardware)
You will also need the following Tools:
- Power Drill
- Metal cutting snips or bolt cutters
- Crimping tool (optional – I did not use it)
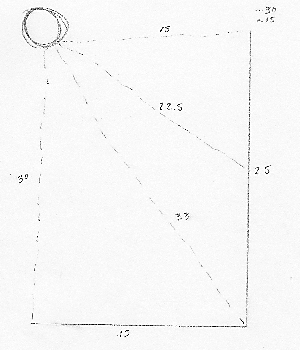
Do a little dreaming and sketching
Place the Eyelets
Since we were connecting lights from our house to a central location at our lone backyard tree, that was my starting point (not pictured). We measured about 11.5 feet high so the lights would slope up from the house to the tree.
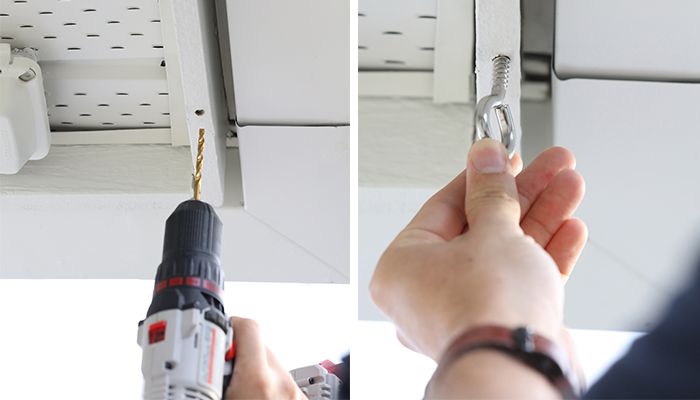
Next up, attaching the eyelets to the fascia on the house. Since we were running four lines from the house to the tree, we repeated this step four times. If you have a setup where you can drill into your house or a stud behind the wall, that’s an even better way to go. We’ll likely go back and reinforce these connections in the near future.
Here we used the power drill and easily screwed in the 2 5/8” Screw Eyelet from National Hardware.
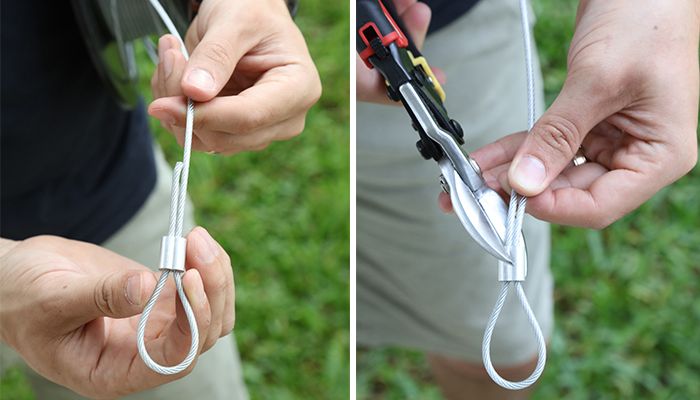
Set the steel cable
The steel cable is not mandatory for some people, but it absolutely was for us. The biggest benefit is the cable will keep the string light cord from stretching out over time, prolonging the life of the lights.
Loop the cable and feed it through the ferrule. We used metal snips to both cut the cable and crimp the ferrules. Bolt cutters work well for this too. A crimping tool is the official tool for crimping ferrules, but because of the light
load on the cable, we felt more than comfortable using the snips.
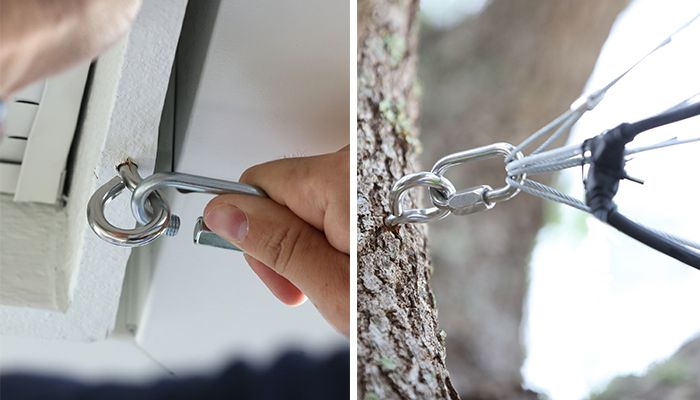
Connect to your quik links
Connect the Quick Link to the eyelet. Do this on both ends of the line. Here you want to make sure the line has a little give but not too much. You don’t want the lights drooping and swinging too wildly in storms or windy weather.
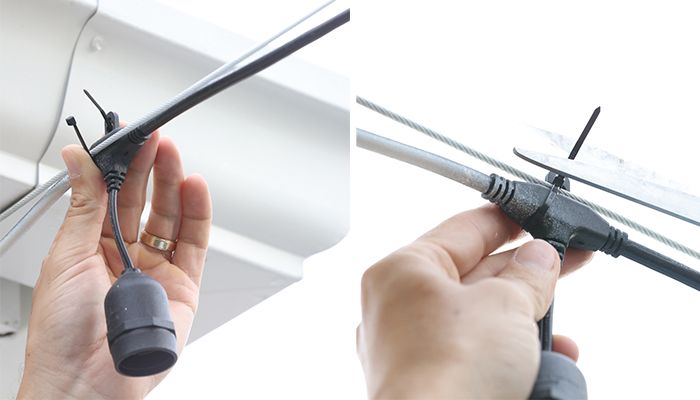
Zip tie the string lights to cable
We placed two zip ties on the first and last lights on each strand for added security. One zip tie was fine for all the rest.
Screw in the bulbs
This is pretty self-explanatory, and when you’re finished, take a deep breath. You are DONE!

- Tags:
- Rope & Chain
- Outdoor Spaces