Hanging string lights doesn’t have to be a complicated task. With the help of National Hardware’s Made by Me™ Hanging Light Hardware kit, you can string up lights in an array of creative designs to suit your style and needs. Here are some tips for getting started with your project.

Tip 1
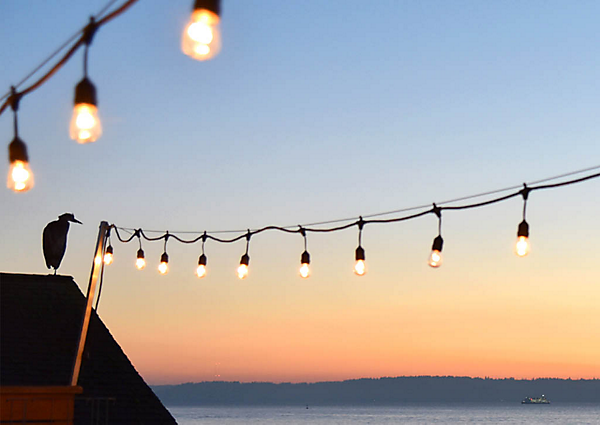
Consider Clearance
Install points should be 8’-10’ off the ground to
leave enough walking clearance under the lights.
For a fully customizable design, install 4 x 4
beams.

Tip 2
Pay Attention to Wattage
Consider maximum wattage to prevent a power disruption. Light strings vary in wattage, so make sure you’re paying attention to this number.
Tip 3
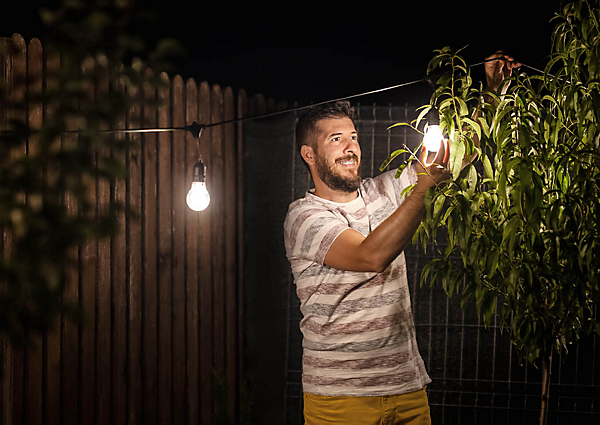
Check the Bulbs
Make sure all the bulbs are functioning properly.
Check each bulb before hanging the entire string of
lights. Make replacements as necessary before
installing.
Tip 4
Get Support
Use the support wire included in your kit to
prevent sagging. The support wire also helps for
easier installation and removal. While it’s not
required that the support wire be used, including
it can ensure the longevity of your lights.
Tip 5
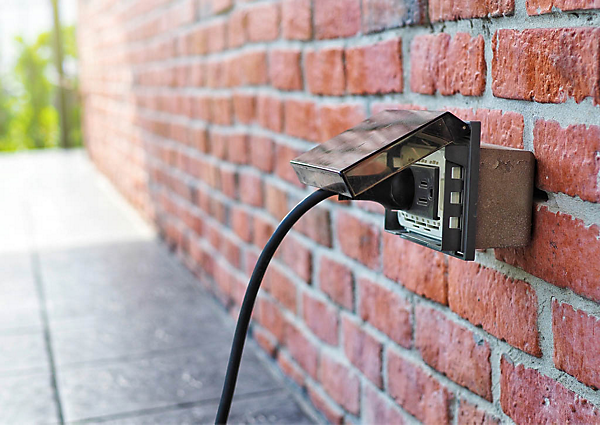
Find a Power Source
Check for a power source before you begin planning your design.
Depending on how and where you want to hang your lights, an
extension cord may be required if an outlet isn’t available.
Tackling a project like this?
Let's Celebrate
A Job Well Done
Once you’ve taken these tips into consideration you can begin your install. Watch your hanging light design come to life and share your finished look with us. Upload a picture of your hanging light creation to social media and tag #MadexMe and #NationalHrdware so we can see what you’ve come up with!
Hardware
- Related Product Categories:
- Metal Hooks
- Wire Goods
National Hardware
Since 1901 National Hardware's focus has been on providing the best hardware and service to our valued customers.
Our Featured